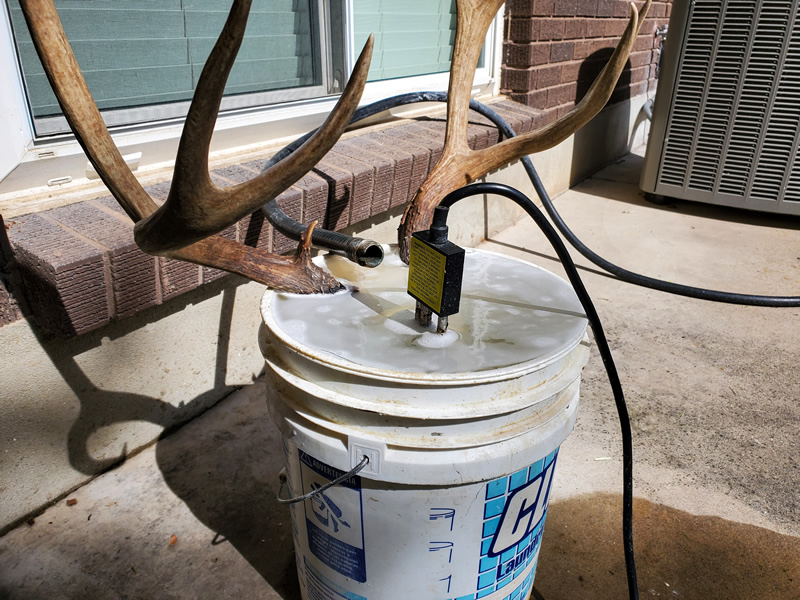
Using a bucket heater to do a European skull mount.
For many years I have been doing the maceration method to clean my deer and elk skulls for European skull mounts. Here is a detailed blog entry on my old DIY European Skull Mounting Process that you should read as it has details on the plaques that I make to put them on the wall. I have liked this method because it doesn't damage the skull like boiling them does. Boiling skulls warps the bone, tipping the nose upward and I have yet to see a boiled skull that didn't have the delicate nose bones destroyed. The methods I use don't warp the skull and keep all of the delicate nose bones perfectly intact.
Here's what you will need.
- Access to running water with a hose
- Five-gallon bucket for deer a larger container for elk (I use an old cooler)
- Access to power.
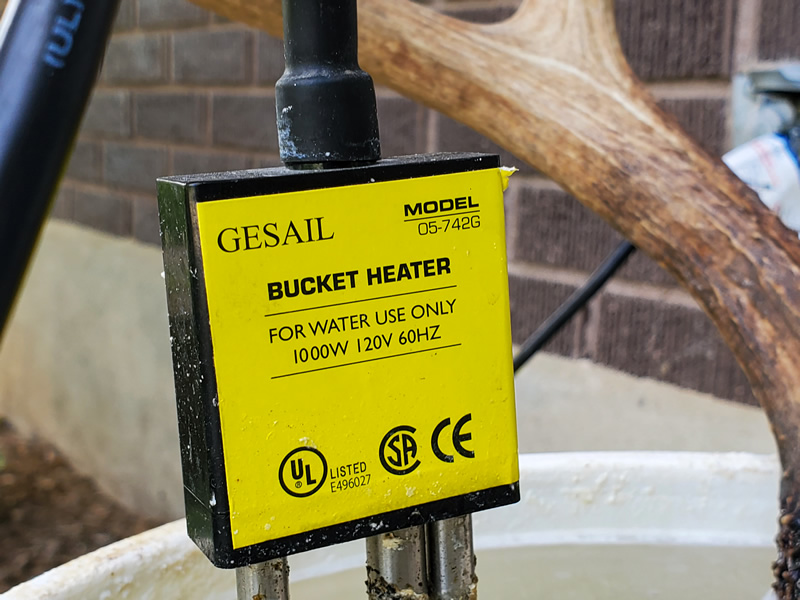
- 1000W Bucket Heater
- Power washer (optional but helpful)
Here's my process of cleaning the flesh off the skull.
- Skin the head and remove the eyes and lower jaw bone
- Fill the 5-gallon bucket with water and have the bucket tipped slightly so overflow water will run over one side
- Place the 1000W Bucket Heater in the bucket
- Place the skull in the bucket
- Get a hose to trickle water into the bucket
- Continually check the water level and "cook" it for up to three* days.
- Pull out the skull and use needle nose pliers, running water and a knife to clean off the bulk of the flesh.
- Use a power washer to blast off the remaining flesh and flush out the brain cavity. DO NOT SPRAY DIRECTLY ON THE DELICATE BONES INSIDE THE NOSE. Safety goggles and a mask help keep possible gunk off your face and eyes if it backsplashes on you.
* Not all 1000W Watt bucket heaters are the same. After using my first bucket heater for three years it died and I purchased another bucket heater. My second heater runs hotter and can finish a deer in less than a day. The speed in how fast your skull is ready will also depend on the outside temperature and how fast you trickle water into the bucket. Make sure you have water trickling into the bucket at all times to keep the water from getting too hot and potentially damaging your skull. Also, make sure to check the status of the flesh falling off periodically. On some skulls, I will slow down the cooking process by trickling more water when I am unable to check on the progress for a longer period of time... like overnight. I generally like to start my skull "cooking" on a Friday and then I can keep an eye on it over the weekend. If you lift the skull out of the bucket and the flesh on top of the skull is falling off it's likely finished cooking, move to steps 7 and 8 to clean off the flesh.
This is the Bucket Heater I use to do European skull mounts.
What the bucket heater does is it slow cooks the skull. It has a thermostat the keeps the water temperature around 150° and towards boiling but it does not heat it to the point of boiling. This method is nice because if you get your skull in shortly after harvesting your buck the process will not create any unpleasant smells. I like that there is no bacteria involved that stinks and could get on you.
While the skull is cooking for three days you will want to monitor that the water stays trickling into the bucket. If you are doing this when the temperatures are well below freezing at night you will need to adjust the flow accordingly and monitor that the skull stays submerged. Try to keep the water just dripping into the bucket as not to lower the temperature of the water too much.
After three days in the bucket, all of my deer skulls have cleaned off very easily. Elk have taken three to five days because I have to use a larger container and can't get the water as warm.
Here are a couple of other steps I like to take after cleaning the flesh off.
Removing any leftover grease.
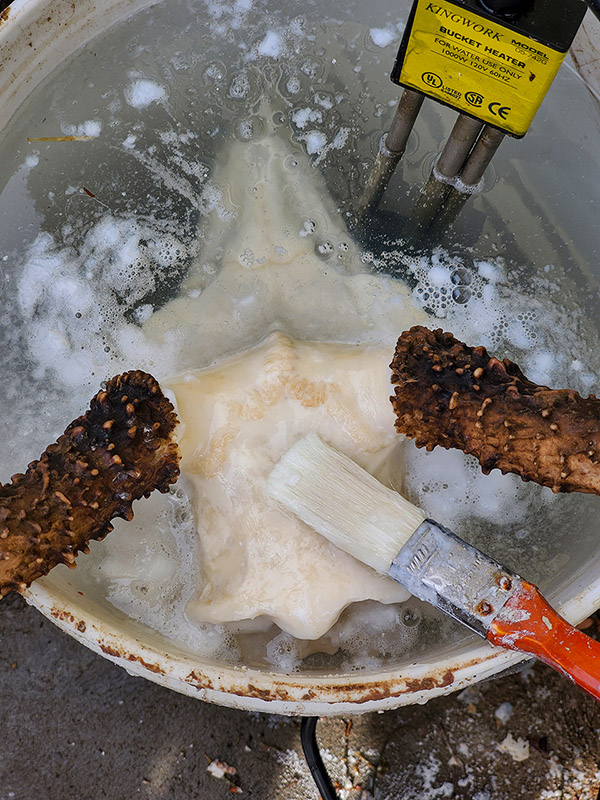
After the flesh is all off I will clean the bucket out, fill it with fresh water, place the Bucket Heater and skull back in it. I will have the hose trickle water in the bucket and I will add some soap to the water in the bucket. I will leave the skull in the bucket with the soap for a few hours. This step helps remove any access oils that may still be in the bone. The Bucket Heater has been removing oils all along but this just helps to be extra sure that you have removed any oil in the skull. The reason I like the bucket slightly tipped (step #2 above) is so that oils that float to the top drip over the edge of the bucket for the 3 days of cooking the skull.
Bleaching the skull white.
To get the skull bright white I will use 40 or 50 volume creme developer. Right after taking the skull out of the bucket of water I carefully use a paintbrush and brush it all over the skull but not on the antlers. I will then let that sit overnight. After it has sat overnight I will clean out the bucket and place the Bucket Heater and skull with the developer on it in the bucket. I will then fill the bucket up with fresh water up as high as I can until it almost touches the antlers. The top of the skull will not be submerged but most of the skull will be. I then use the Bucket Heater to heat the water for an hour. I do not trickle water into the bucket during this step because it will raise the water level over the antlers and get bleach on them. The heat of the water mixed with the bleach of the developer in the water bleaches the skull white really fast. I will also periodically brush warm water from the bucket over the top of the skull that isn't submerged working to keep that part of the skull wet as well.
Mounting on the wall.
I like to make my own plaques for mounting them on the wall. That process can be found in this article: DIY European Skull Mounting Process.
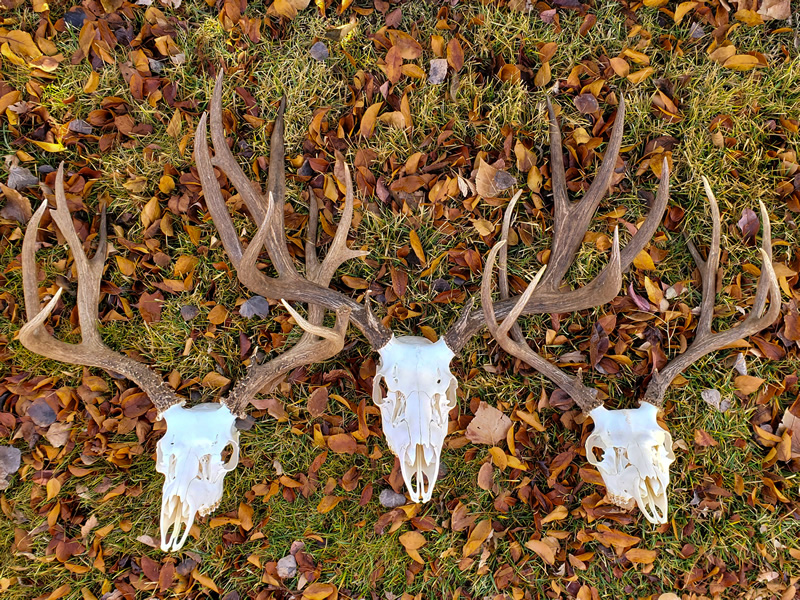
2019 Euro Mounts using the bucket heater method. Here are the articles on these 2019 mule deer hunts.


