
June 2020 Update
While the information below is still a good method for cleaning off a skull I have found a better method that I use. See: DIY European Skull Mount In 3 Days — Bucket Heater Method
Many years ago I decided to do a European skull mount of a whitetail deer. At the time I used the boiling method to clean the flesh off the skull. After all was said and done I really didn't like the outcome. Mainly because the very fine bones that are in the nasal cavity were all destroyed in the process of trying to pick off pieces of flesh in-between boiling sessions. Boiling also makes me worry that the skull could crack or shrink from the heating.
Since that time I have used the maceration process do to my mounts and have done so on close to twenty skulls from elk, mule deer and whitetail deer. Keeping the skull in water for a long period of time allows bacteria to break down the flesh. The process, although it takes some time, produces end results that are great.
Place the skull in water.
Here is my process. I skin the head and remove the eyes and as much flesh as you possibly can with a knife. In a shed in my back yard I have a large plastic storage tub that I fill with water. I prefer to get some pond or river water as it speeds the process of getting the bacteria going faster but, tap water will work just fine. It will just take a little longer for the bacteria brew to get going with tap water.
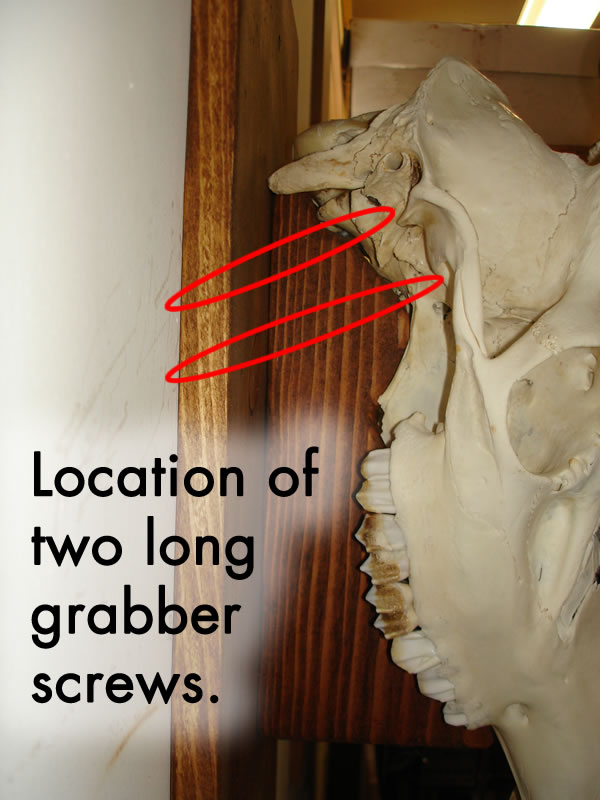
Where the four inch screws are holding this elk skull on the plaque.
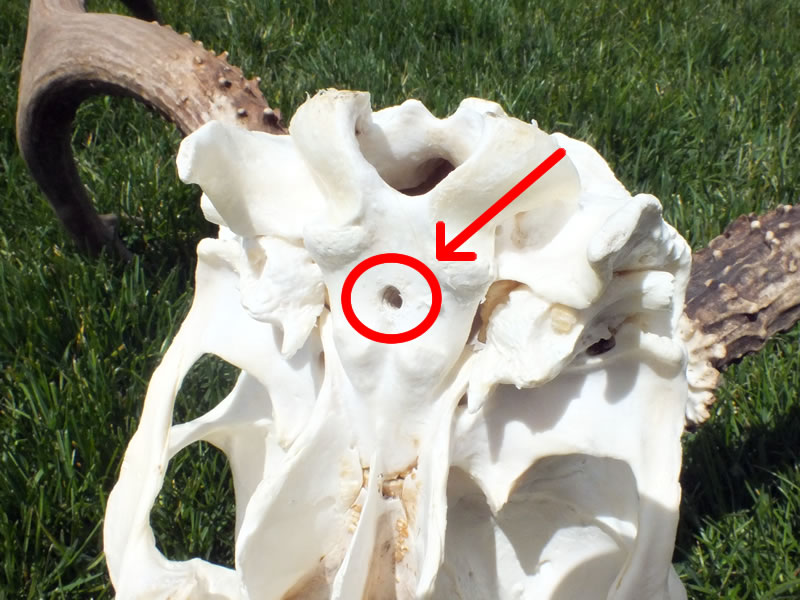
Where I drill a single hole through the skull of a deer for the screw to anchor the skull to the plaque. I drill a hole a little smaller than the outer diameter of the screw threads.
I submerge the skull in water and leave it in for a couple of weeks. It is fine if some of the antlers are partially submerged. I will remove the skull every week or so to check it's progress and spray it off with a water hose to remove as much of the flesh as possible then place it back in the bacteria brew. I use a pair of needle nose pliers and pull pieces of stubborn flesh off the skull, especially around the area the spinal column enters the back of the skull.
Heating the water.
To keep the bacteria growing the water need to remain warm. I use an fish aquarium heater to keep the water warm. Be careful to place the heater in a position so that it doesn't rest right against the skull. If it rests against the skull you may get a brown spot on the skull as I did once. Oops! Using a heater will keep the water warm and the bacteria working at a much faster pace.
Keeping the smell to a minimum.
Although not necessary I prefer to keep the smell to a minimum. If you do not aerate the water you will get a very smelly anaerobic bacteria, just like you get in your septic tank. A horribly stinky mess. If you aerate the water you will get aerobic bacteria that has less of a smell. Just like waste water treatment plants that have large aerating machines to pump oxygen into the water to keep the smell to a minimum, I use a fish aquarium air pump to pump oxygen into the water and keep the bacteria smell to a minimum. The rotting flesh is still gross but at least the smell isn't so horribly bad that it makes me dry heave when I pull the skull out to spray it off.
Teeth falling out.
Whenever you pull the skull out of the water watch for teeth that might fall out, especially watch for this when you are spraying it down with the hose. If any teeth fall out just hold on to them and after you have the skull cleaned you can super glue them back in.
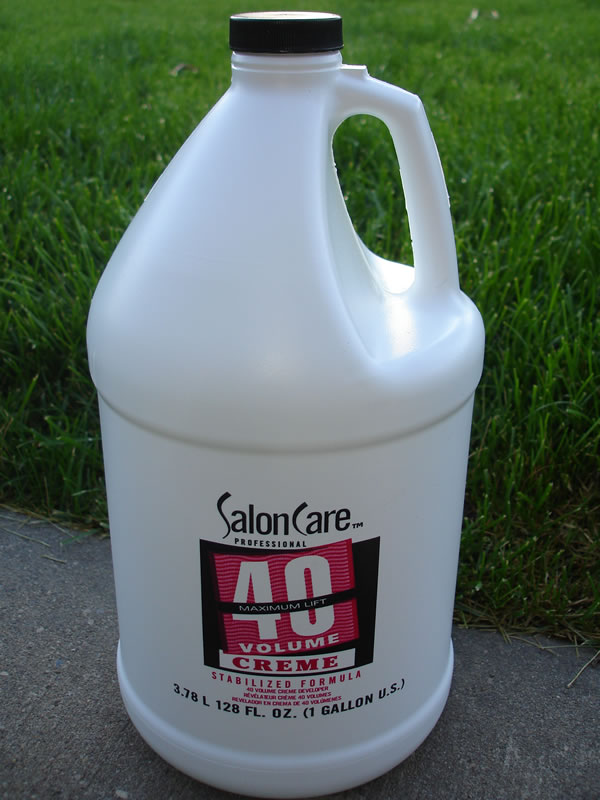
Creme Developer Peroxide Bleach for DIY European Skull Mounts
Bleaching.
Get a gallon bottle of peroxide creme from a beauty supply store. I say gallon because I think it only comes in gallon bottles. You will find it in 10, 20, 30, 40 and 50 volume varieties. I like the 40 volume as it is the most potent.
After I have the skull's flesh cleaned off I will place the skull on a large piece of cardboard and using a paint brush I liberally paint the peroxide creme all over the skull being very careful not to get any on the antlers. For that matter be careful not to get the peroxide on anything but the skull and cardboard that the peroxide will drip down onto. I will then repeat brushing on coats of peroxide a couple times a day until I get the desired whiteness. Every skull has been a little different for me but usually within three to four days the skull is all pearly white. However, I have had some skulls that have taken two weeks to get some stubborn areas whitened.
Once the skull is as white as I want I then spray off the skull with a water hose and let it dry.
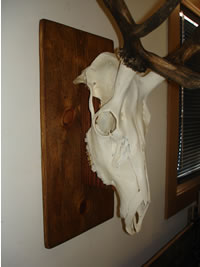
Mounting to Plaque
After the skull has dried, there is a really solid piece of bone on the underside of the brain cavity that I drill hole(s) into to mount the skull to the plaque. I drill two small holes for elk and one hole for deer. These hole(s) line-up with four inch grabber screws that I place through the mounting plague. Once I get the hole(s) in the plague to line-up with the skull I screw the skull in place with the long grabber screws and I'm done.

Elk European Skull Mount Wedge Angle Template. Click the image above to download the elk template.
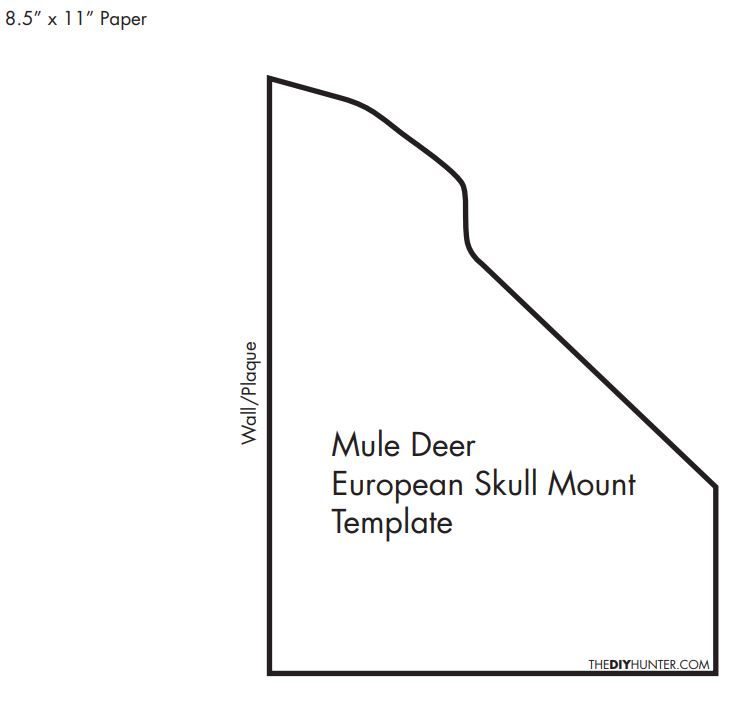
Mule Deer European Skull Mount Wedge Angle Template. Click the image above to download the mule deer template.
With mule deer and elk I like to place the skull at an angle to the wall. Using a piece of 2x6 lumber I cut a wedge for the skull to rest upon. To the left are some PDF files of the wedge templates (Elk and Mule Deer) I use to angle the mount away from the plaque on the wall. These templates should give you a good start on the wedge but might require a little tweaking to the angles and rounding the edges to fit your unique skull.
You can view other homemade European mounts that I have done in my DIY European Skull Mounts journal entry.
At the 2011 Western Hunting Expo I found a neat system to hang European skull mounts that I might have to try on future mounts myself.
Related Articles: