- Details
- Written by: The DIY Hunter
- Category: Outdoor
- Hits: 4950

One of two photos I got of the Black Bear before it turned and headed out of Dodge.
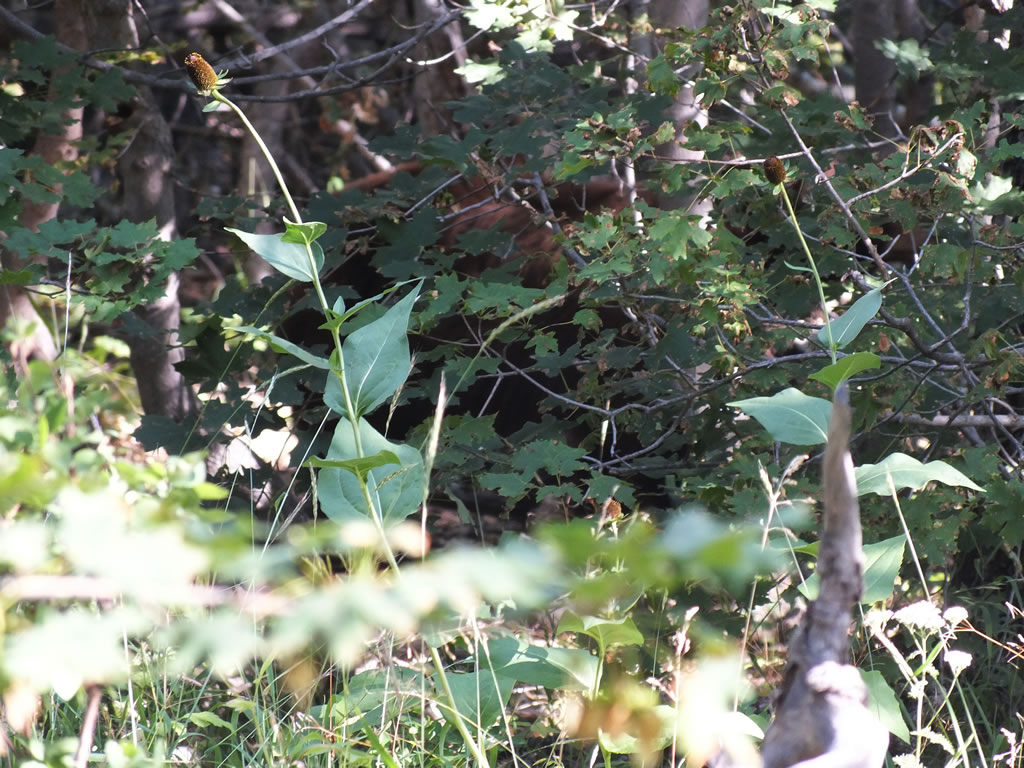
The second of the two photos I got of the bear. You have to use your imagination to fill in the blanks of the big ball of brown fur.
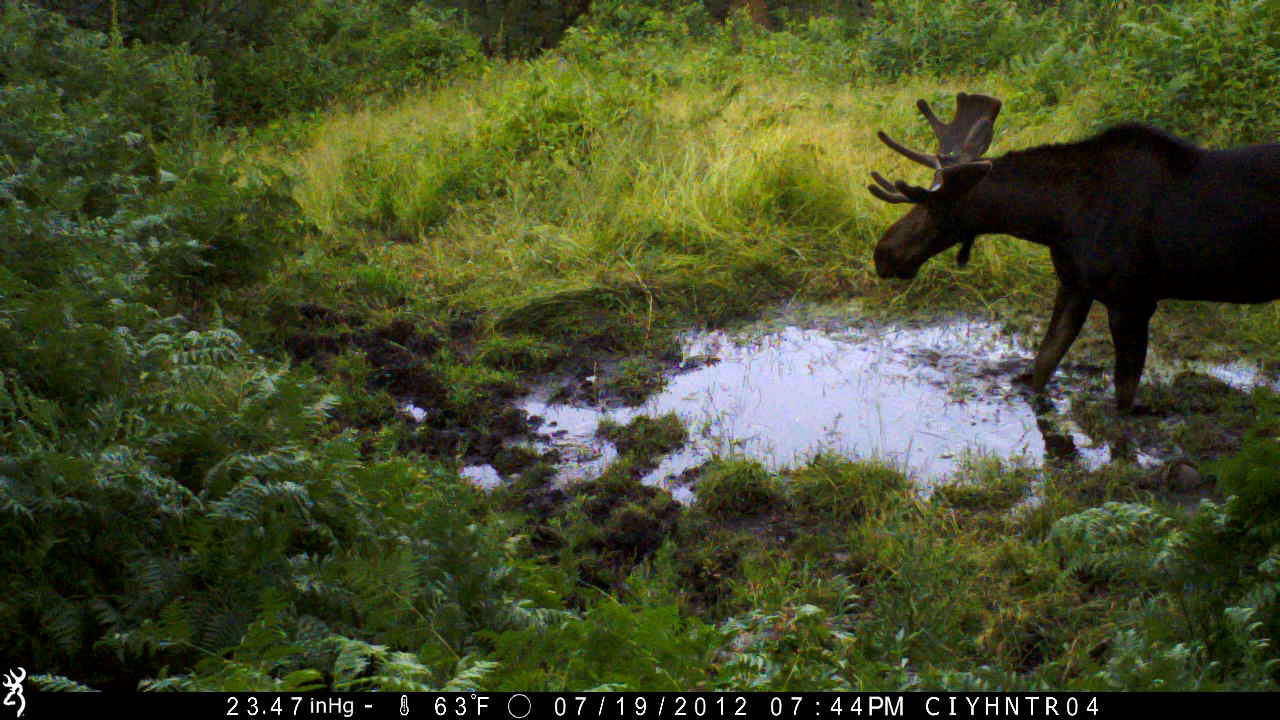
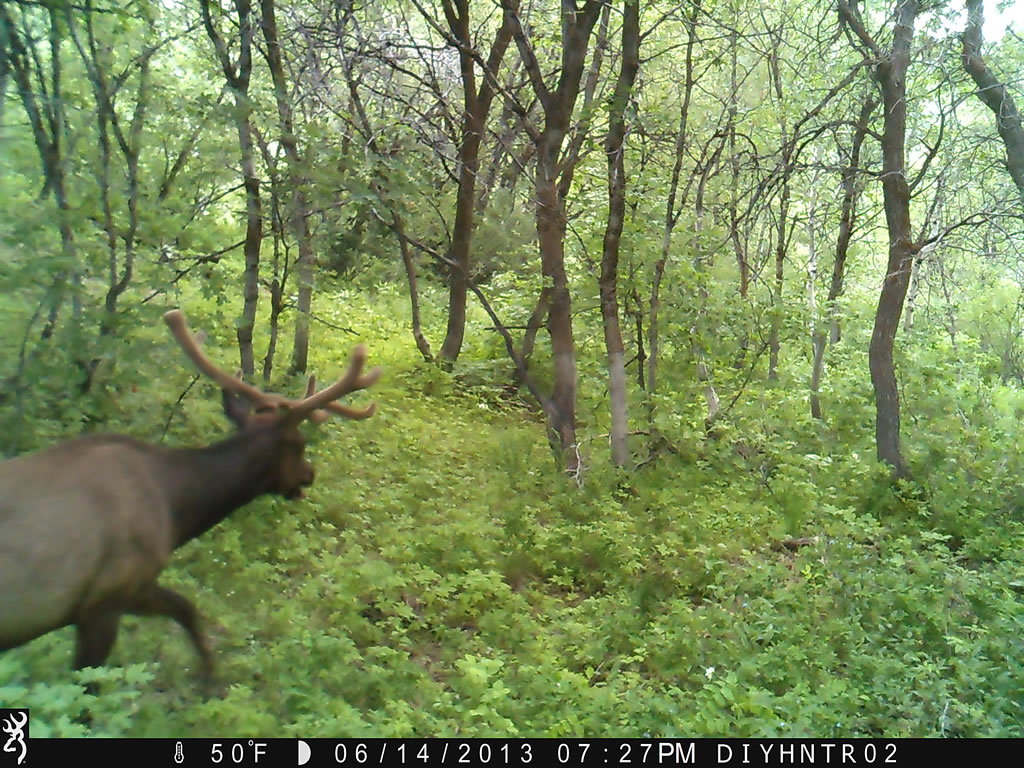
A bull moose came in and drank for a while on the Spec Ops trail camera.
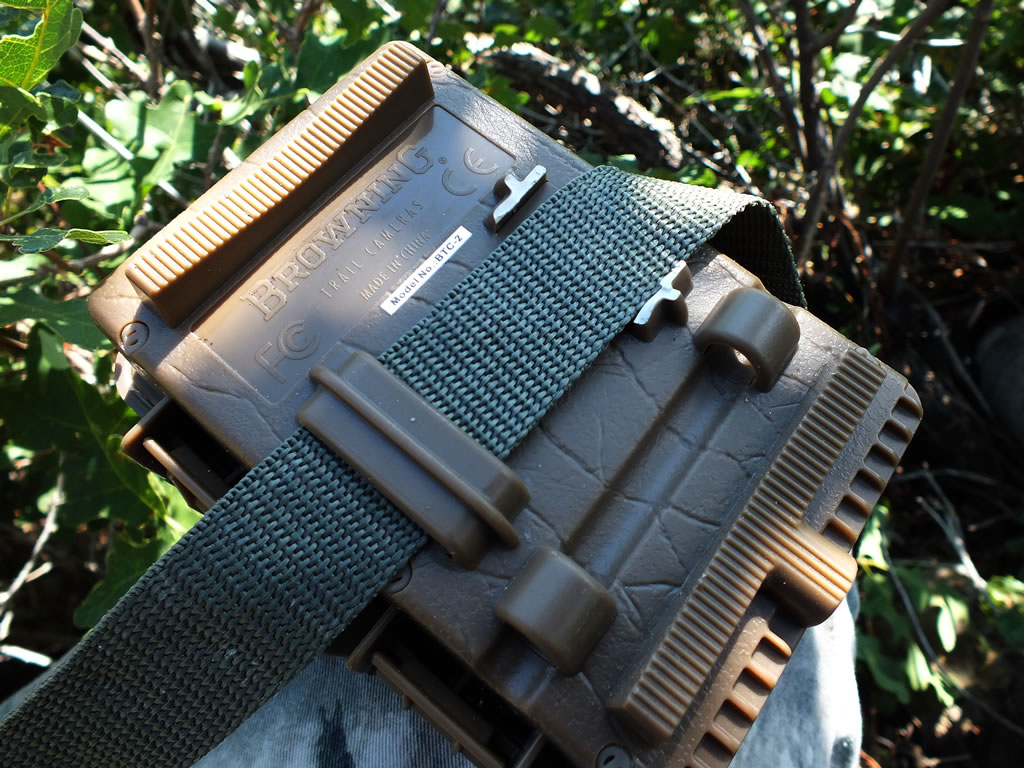
Oops! I broke off one of the mounting brackets. Don't try mounting a Browning Trail Camera to a skinny tree and then try to adjust the angle of it with broken branch shims. Use a trail cam mount. Starting in around 2014 or 15 the Recon Force Advantage model has a metal bracket on the back for the straps to go through preventing this from ever happening.
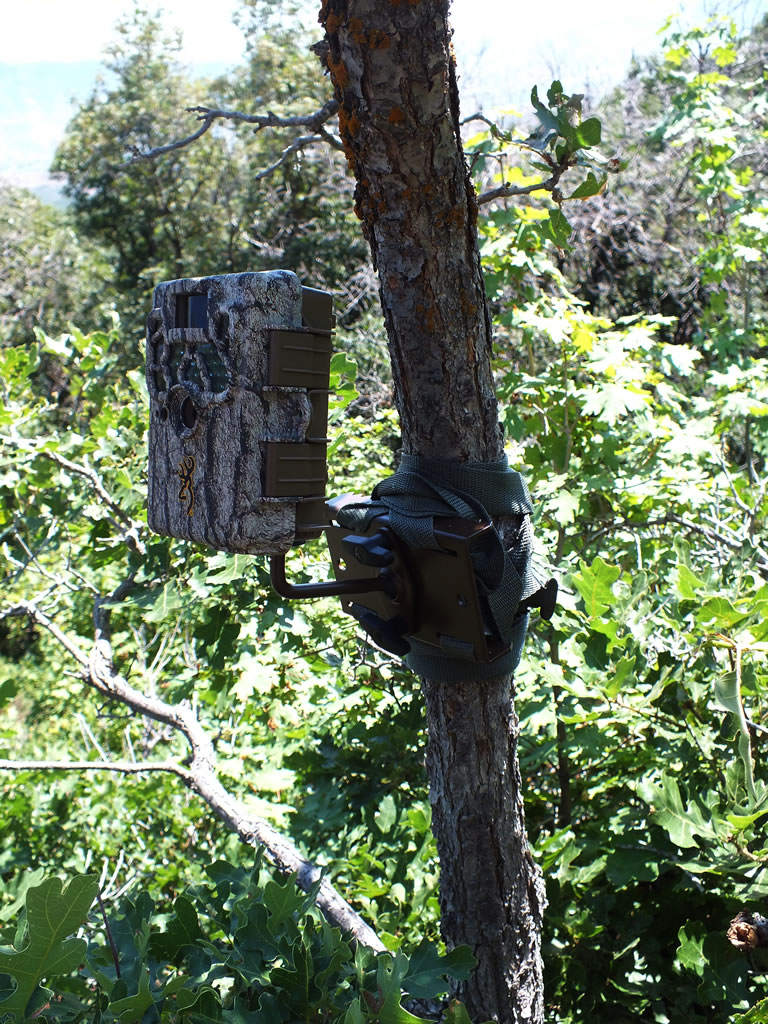
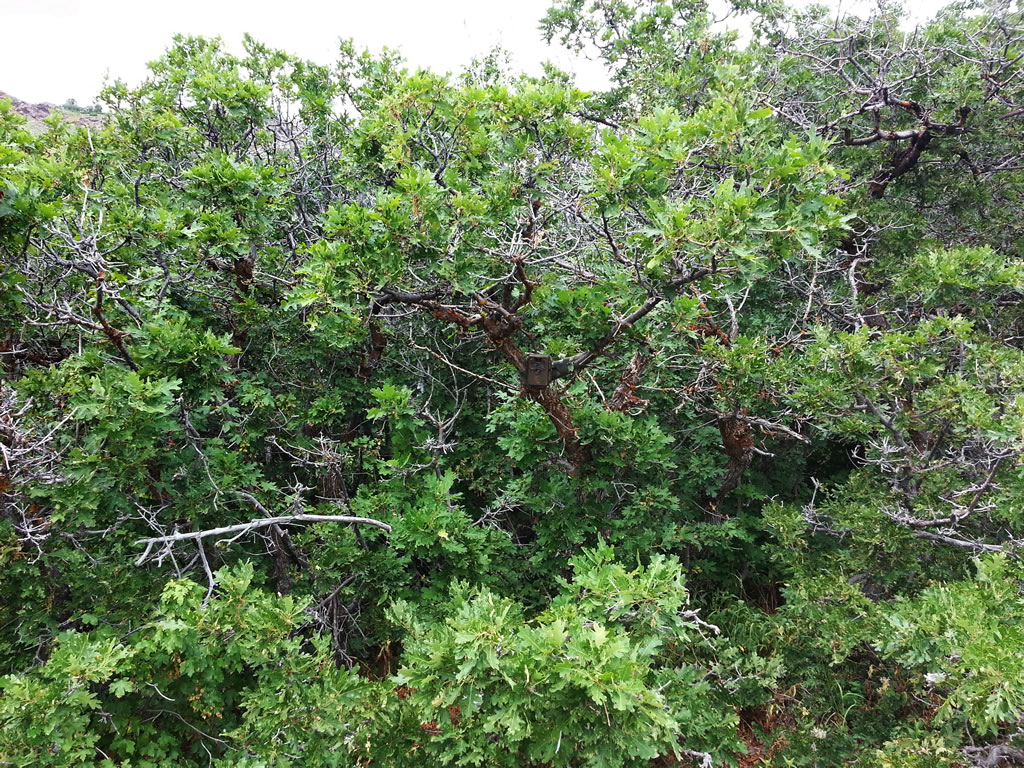
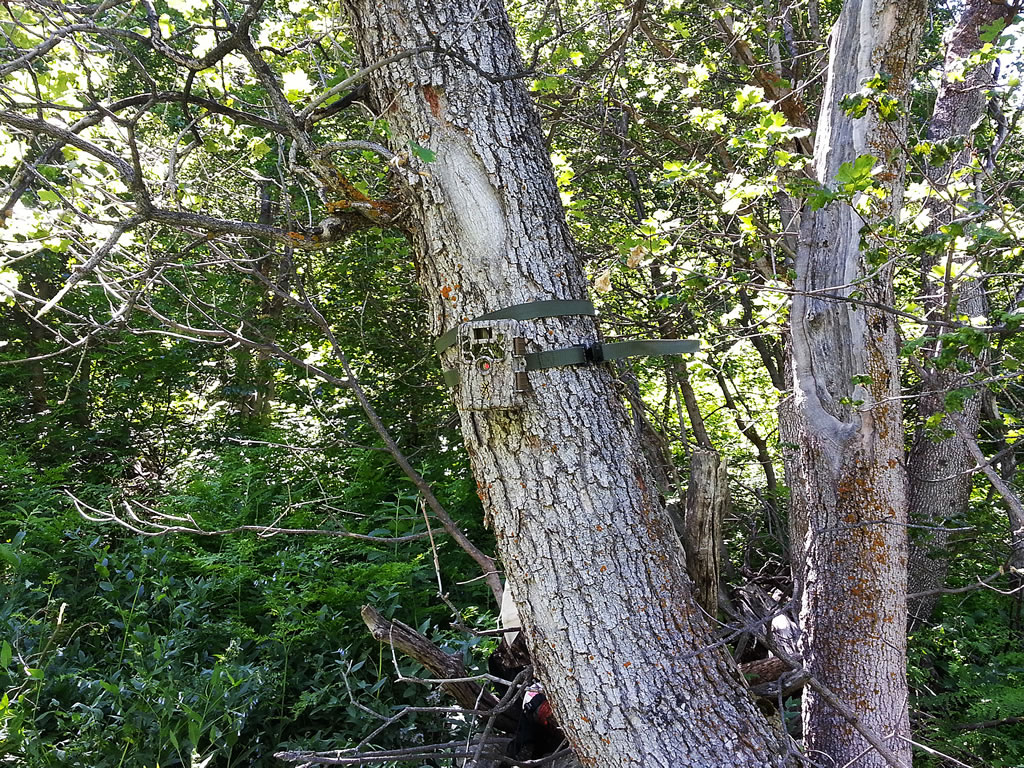
This is how the Recon Force trail camera looked on the skinny tree before I broke the bracket trying to get the camera to point up the hill.
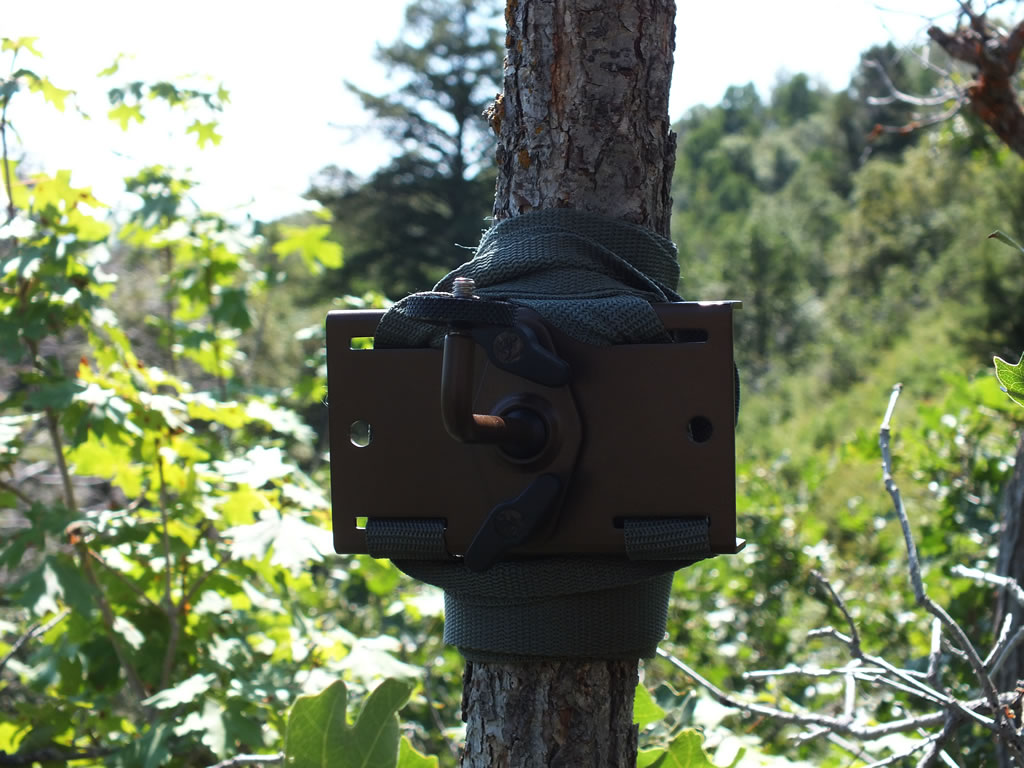
Here's the Browning Trail Camera Tree Mount securely mounting horizontally across the skinny tree trunk. The excess webbing is wrapped around the tree many times above and below the mount.
This trip out to check the trail cameras was pretty exciting. I normally prefer to check the cameras in the middle of the day to lessen the chance of disturbing game near my trail cameras but today I started out late morning to check them.
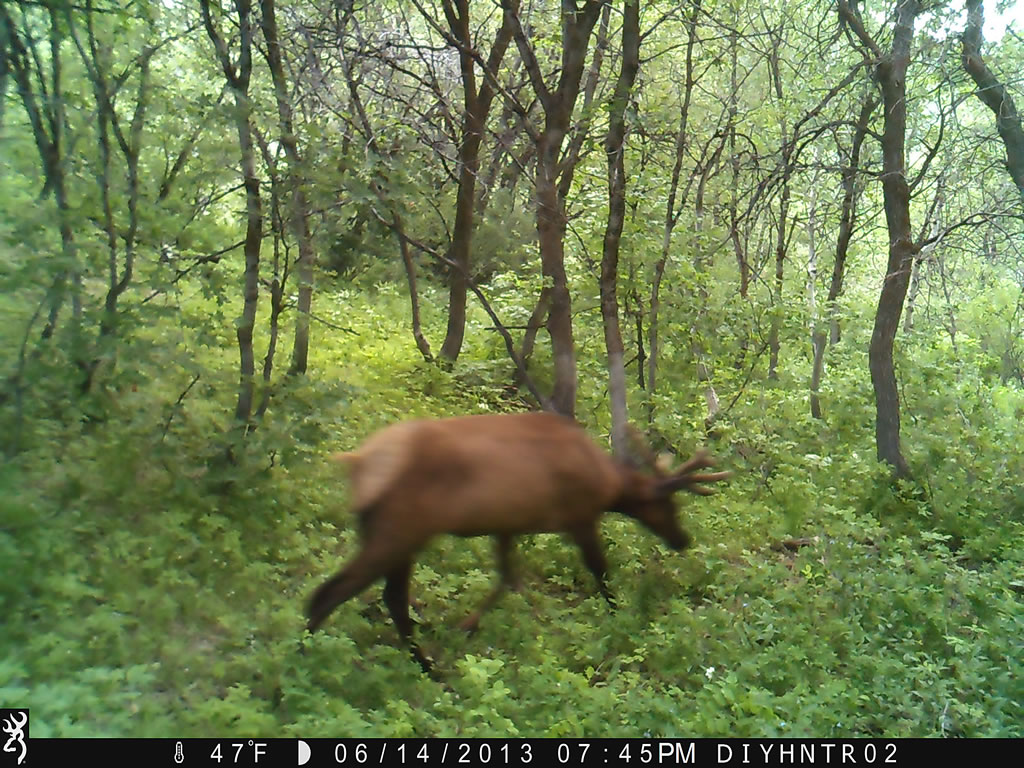
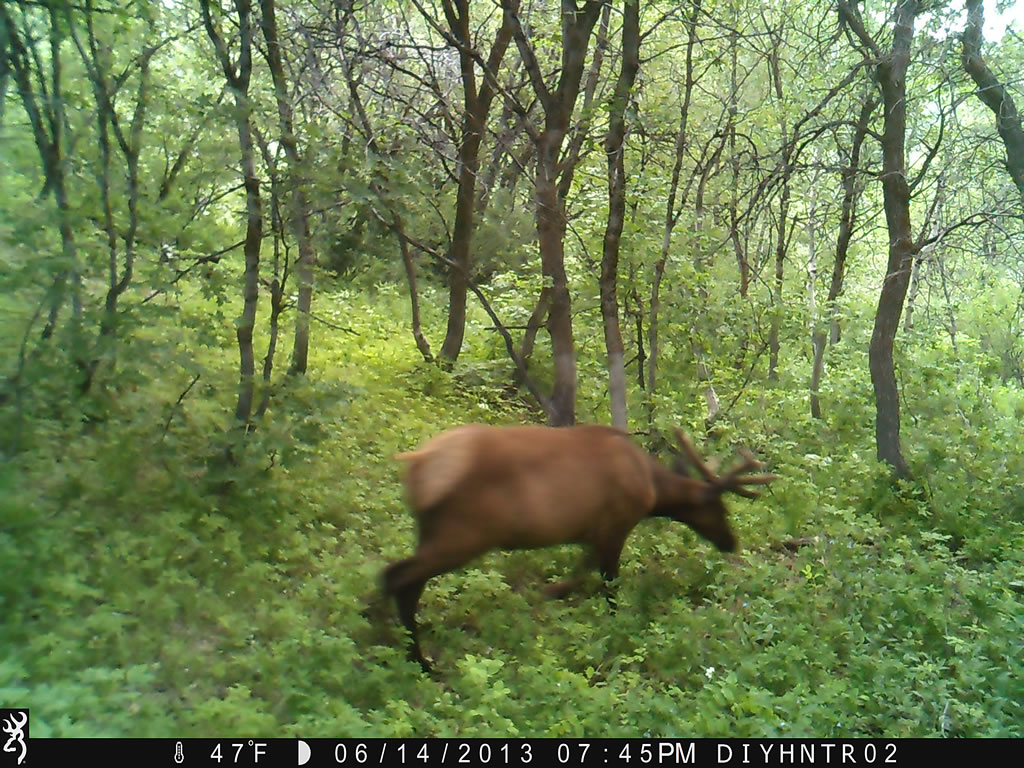
It was about a quarter after nine as I approached the first camera on my hike. As I got about a 100 yards or so away from the camera I startled something that went out to the left and something that went out to the right. I quickly made a Moo sound to see if whatever I spooked would think I was a cow and come back to investigate. Within a few seconds whatever it was that went out to the right came sneaking back in to take a look at me. As I started making out the critter I first thought it was an elk but quickly realized this was no elk. It was a large cinnamon colored black bear. Boy did he look big!
The bear stopped about 30 yards away from me in pretty thick cover and was looking around trying to find the "Moo." Luckily the bear was looking for me a little to my right. This bought me a few seconds to pull out the camera and try to get a few photos. Unfortunately, he only paused briefly then turned and quickly moved back into the timber. I'm guessing I didn't smell like a cow. Anyhow, I tried to get some photos but they are pretty much just a brown ball of fur in the trees.
Now that was cool. Bears have not been a common sight on this mountain. I have captured a bear twice on the trail cameras this summer and now I actually ran into one. Very cool.
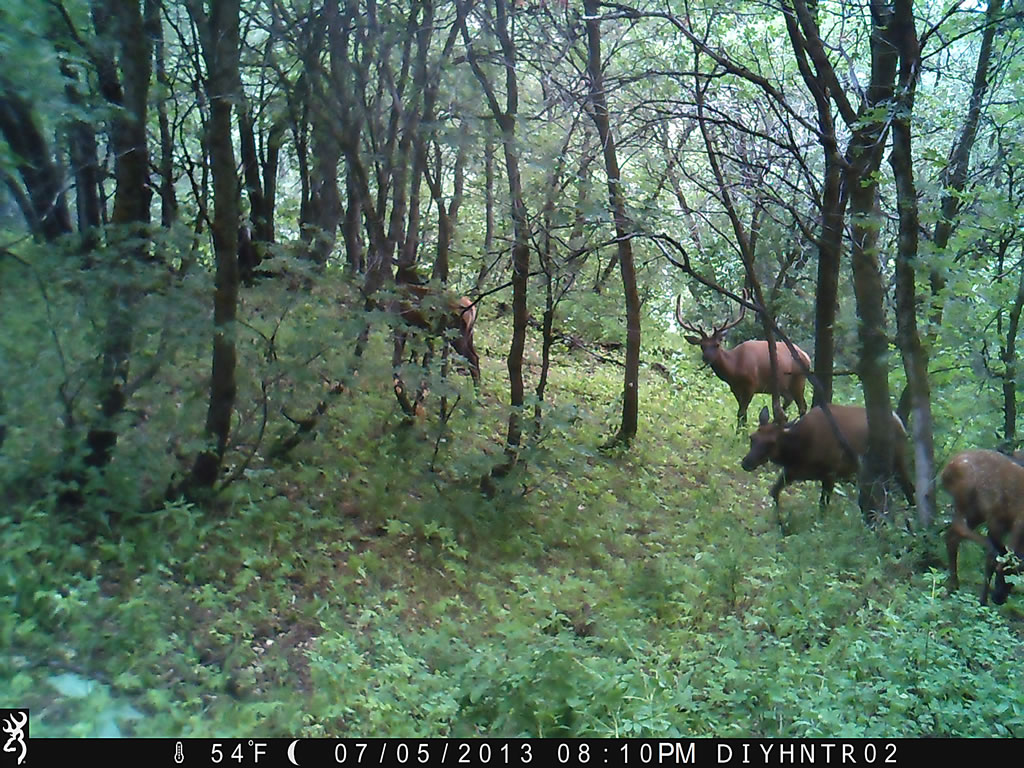
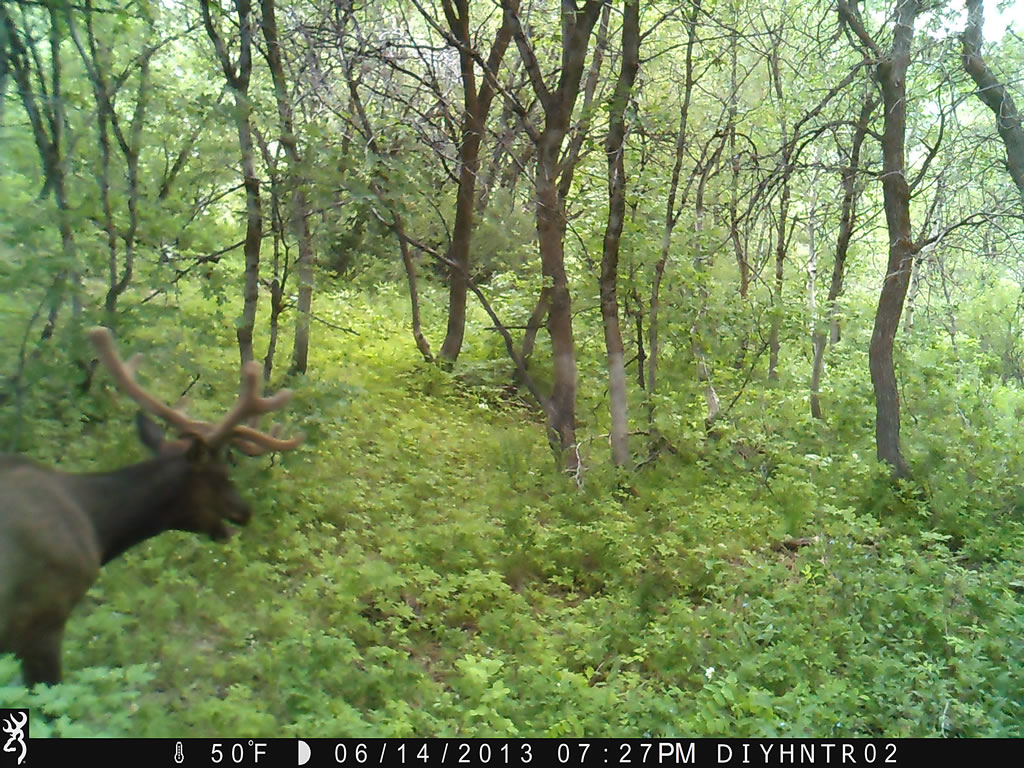
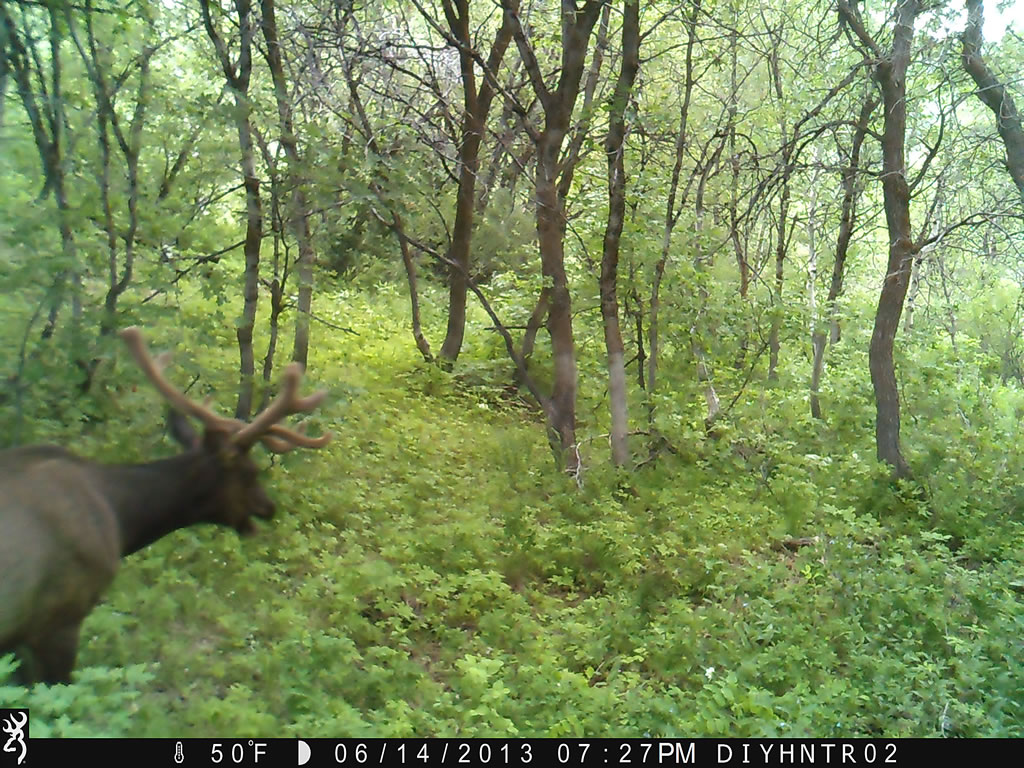
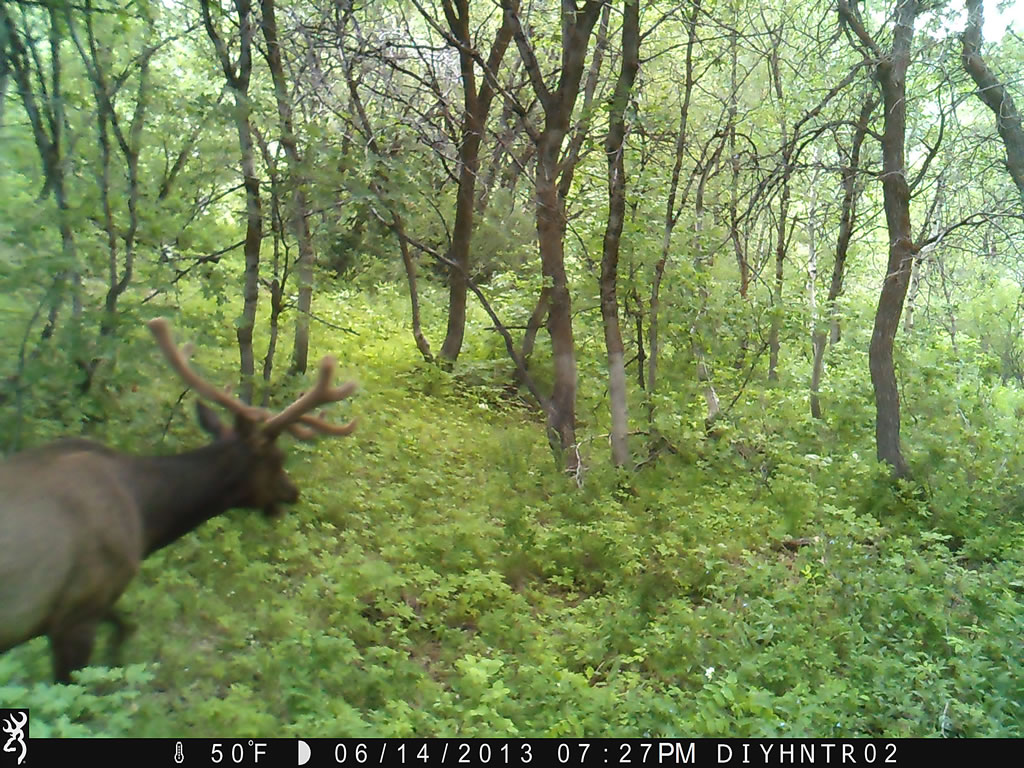
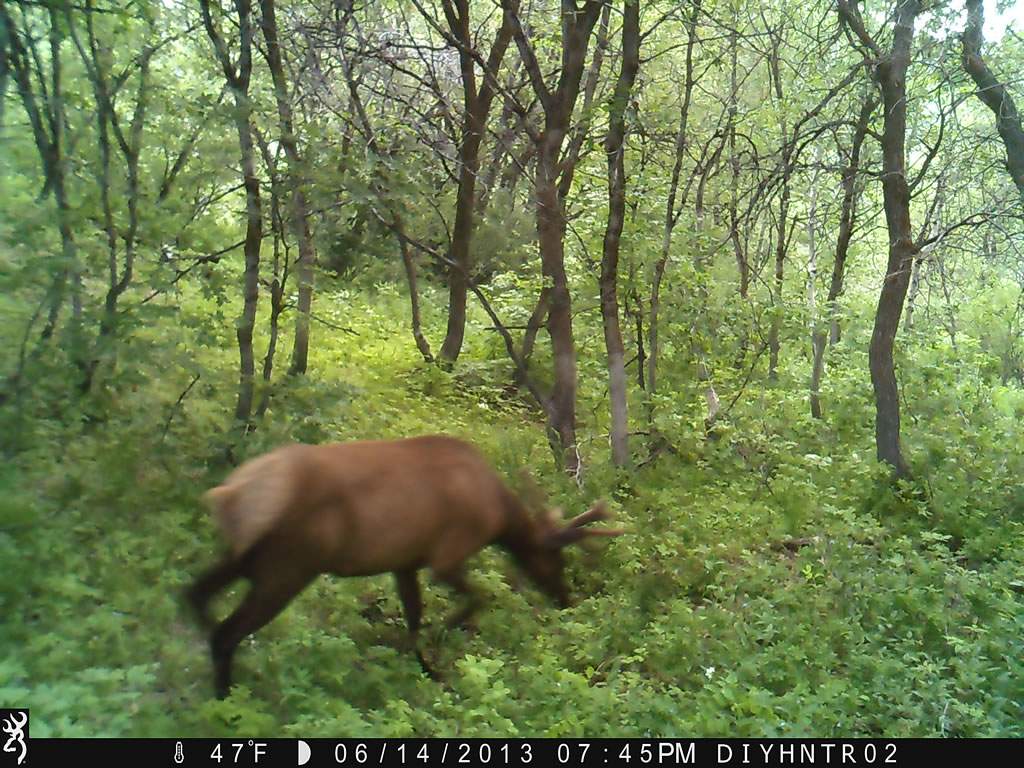
After reviewing the video on the trail camera I found that the critter that busted out to the left was a spike elk. The Recon Force camera captured him coming down the trail headed right for me then he hears and or sees me and comes running back past the camera. Seven minutes later after watching the bear I come walking through past the camera. I always like to walk past my cameras when I check them to make sure they are working properly. You can catch the action of the spike and me at the end of the video in this post.
I hoped that one of the cameras this trip out checking them would have the bear on it but after reviewing them none of them did. Maybe next time.
This time in I decided to move DIYHNTR03 a Recon Force trail camera to watch a heavily used trail further up the mountain. The location of this camera has been my most consistent location to get elk on film. Elk are moving past this camera's location daily however so far only spikes and two year old 4 to 5 point bulls. I'm working on getting a few more cameras so for the time being I moved this camera and will probably place another one in this location when I get some more cameras.
I'm sure that once it starts getting close to September and the rut I will start seeing a different variety of bulls come by this location. For now I wanted to check out a see what might be moving in this other location I have been wanting to check.
When I got to the trail I wanted to move the camera to I found my choice of trees to hang the camera on pretty slim. There was one small piece of Oak Brush that was about 2 1/2 inches in diameter that would work. I mounted the camera and fiddled placing sticks between the camera and tree trying to get the angle of the camera pointed upward to watch the trail above. In the process of cinching down the strap to snug it against the tree I busted off one of the strap brackets on the back of the camera. Dang it!
I looked over the small size of the tree and realized that cinching the strap down on a tree this small puts direct strain right on the bracket. On any other normal sized tree the strap would not be pulling directly on the bracket. Also noticed that using pieces of branches as shims to wedge between the camera and tree places more stress directly on the brackets. And I was doing both, small tree and branch shims. Bad combo. Oops!
Luckily I had a Browning Tree Mount with me. I would have used the mount right off the bat with this tree however with the tree so small the teeth on the mount would not grip the tree. Now that I had broke of the bracket I started really thinking of how I has going to get the trail cam mounted on this tree. I realized that I could strap the mount to the tree sideways instead of vertical. I had to crisscross the straps across the back of the tree and the mount secured to the tree nicely.
Once I had the Browning Tree Mount secure on the tree, getting the camera to point in the prefect direction to watch the trail was really easy. My only concern now is that I have had a couple instances where an elk and a moose have came right up and placed their nose on the camera. If this happens with this camera on this mount there is a much greater possibility of the camera being moved to not point in the correct direction. The leverage of the mounting arm could cause the ball joint to slip a little if a elk nudged the camera with it's nose. I tightened up the mount as tight as I could and we'll see what it gets in a couple weeks. Hopefully the critters don't move it around.
In the video at the top of this post I have clips from all four cameras I have out. All three Browning Trail Cameras, Spec Ops, Recon Force and Range Ops trail cameras are shown in this video. All three camera models take great video. I'm really liking the video option over taking images... but it does chew up the batteries a little faster.
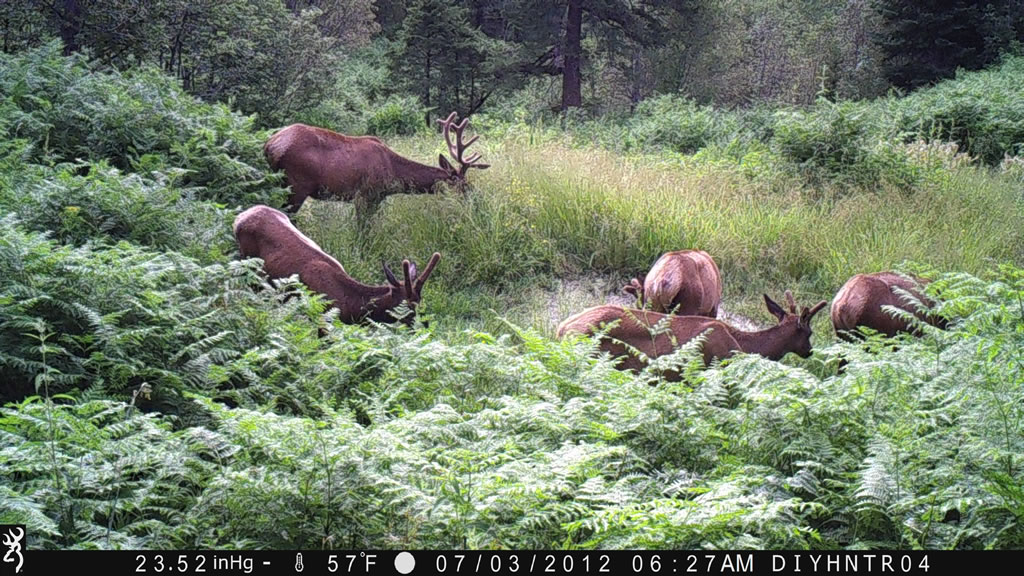
On the cameras this time we got lots of cow elk, calf elk, mule deer does, fawns and young bucks. I'm not sure where the large mule deer disappeared to that we had on camera a month ago. We did get a few bull elk and a bull moose. We got the largest bull elk so far. A 5x6 bull that I would guess would score around 260 BC. Dallen and I are hoping he sticks around for September and that he is able to finish growing the G5 point on both antlers. He's not huge but we'll take him. He's larger than either of us has ever taken.
Sadly now I have to wait a couple weeks before I go out to check them again.
- Details
- Written by: The DIY Hunter
- Category: Outdoor
- Hits: 4690
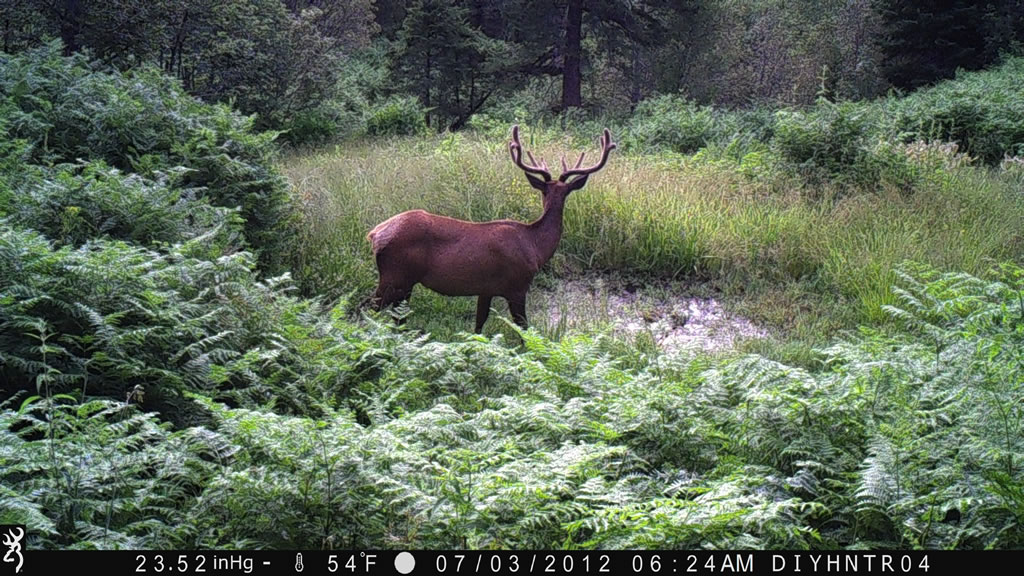
This young bull elk was captured on a Browning Spec Ops trail camera.
Dang, I just noticed the date is wrong on the camera... it's 2013, not 2012... which is also giving an incorrect moon phase. Note to self — fix the date next trip up the mountain.
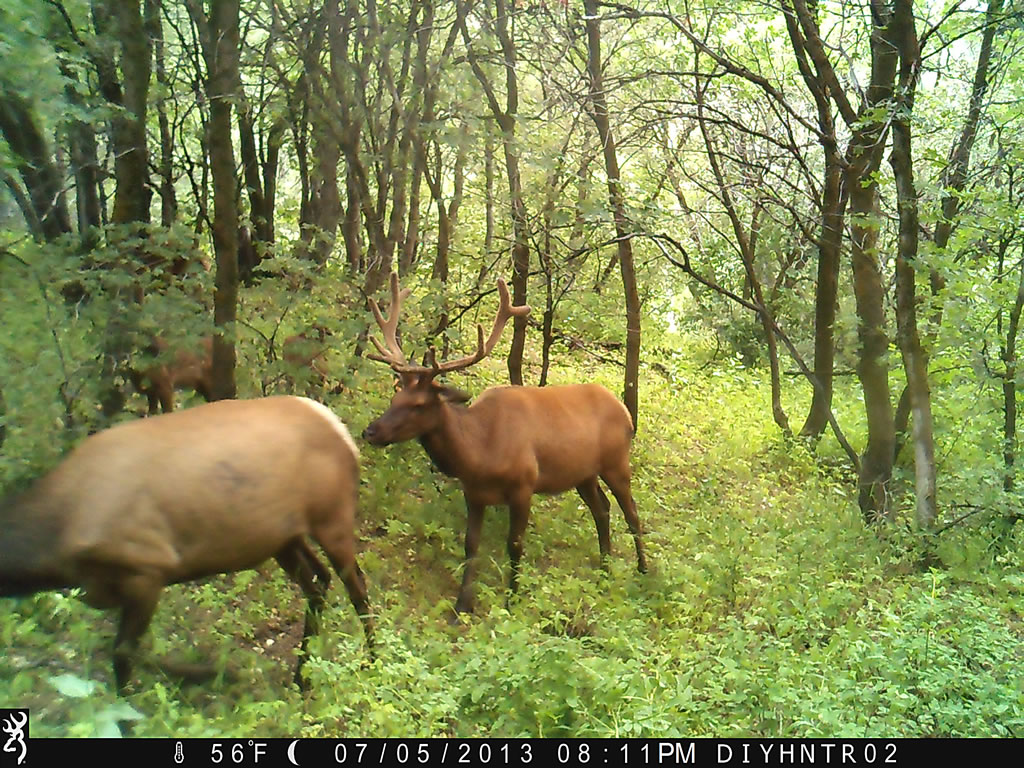
A herd of cows and calves and this young bull passed by the Range Ops trail camera.
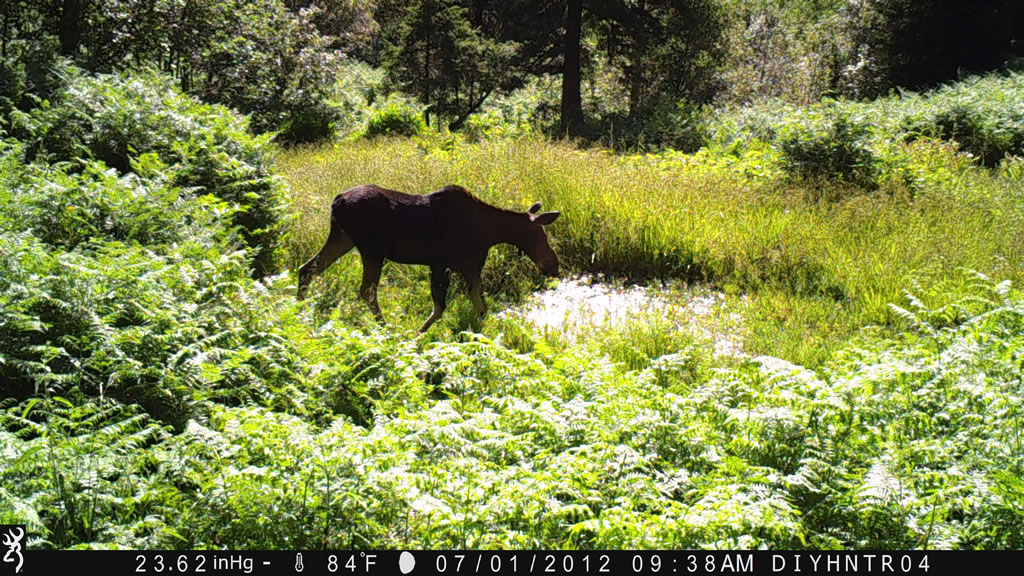
This moose was captured on a Browning Spec Ops trail camera.
I moved the trail cameras around a little last time out checking them and I added a Browning Spec Ops trail camera to the cameras that I have out. I really like the two-inch color TFT viewing screen the Spec Ops camera has. It made positioning the camera a lot easier as it allows me to see what the camera sees in real-time when I am mounting it on the tree.
The time before I went out to check the cameras we had a much-needed rainstorm hit the mountain. I knew that if the mountain was really wet that the clay on the dirt roads can be horrifically sticky. I figured that as dry as it has been that the ground would have dried up enough before I headed up the mountain in the morning on my 29er mountain bike. I was wrong. I ended up carrying or walking my bike up a large portion of the mountain because the clay would build up around the frame and wheels. However, a couple of hours later it was dried right up for a smooth ride off the mountain.
Being new to trail cameras I have been learning a lot about how they operate. One thing that I have noticed with the Browning trail cameras is their excellent motion detection. My friends often complain about their cameras filling up their disks full of moving weeds. Browning Trail cameras motion detection is able to filter out the motion of moving weeds. However because the motion detection filters out motion like this it also filters out motion like an animal walking straight at the camera, because the signature of the animal grows gradually the camera does not recognize it as motion. I have found that the cameras work best by setting them up so that animals pass parallel to the camera giving good solid motion signatures.
Another thing I have learned to do this last time out was to verify exactly where the camera was pointing before I leave. My DIYHNTR03 Recon Force camera was pointing a little high catching the tops of the elk and deer as they walked by. This time out I noticed it with my Samsung USB cable and card reader. (learn more about my SD card reading system) I repositioned the camera and walked past it a couple of times then pulled the card and reverified the field of view in the camera before leaving it this time.
This time out I captured a lot of elk. Many spikes and a couple young four to five points. Elk's antler growth is winding down with them shedding their velvet in mid-August. I am hopeful an older bull is in the area that we just haven't found yet. Neither Dallen or myself have yet to harvest anything better than a 5 point. Then again things will change once the rut starts kicking in. Bulls will be running around looking for cows all over the place.
Five young bull elk captured on a Browning Spec Ops trail camera. A 5x5 and four spikes all in the same photo. Pretty cool I think.
Another young bull elk captured on the Browning Spec Ops trail camera.
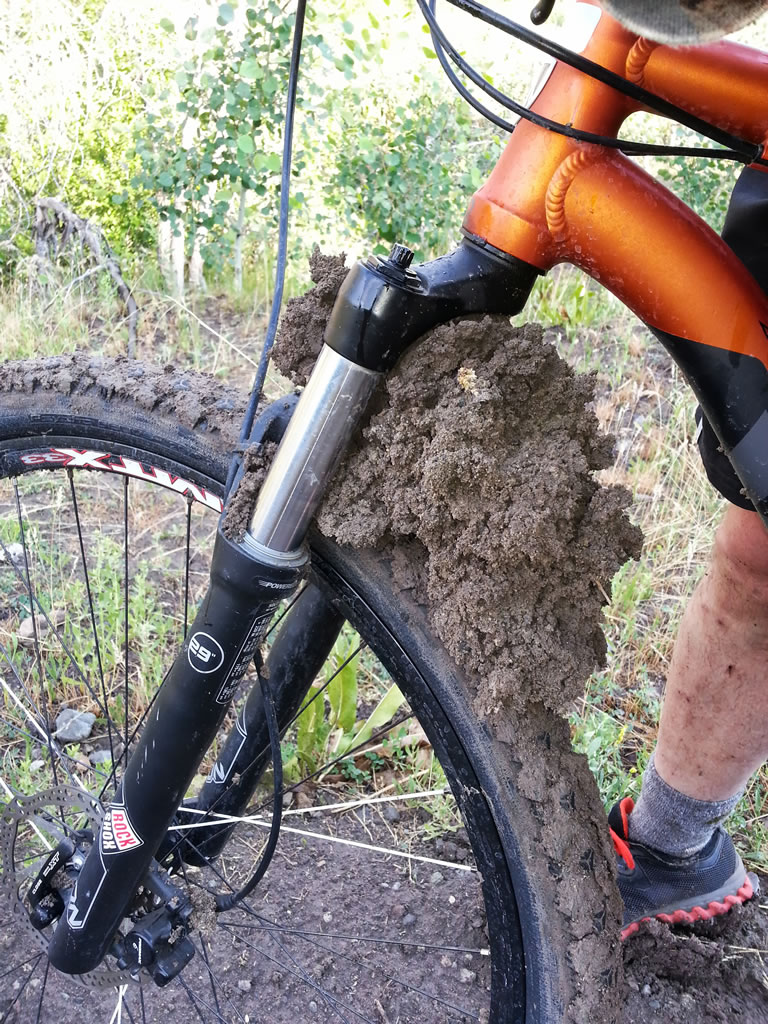
The mud was terrible trying to ride in on my 29er mountain bike. It built-up around the front wheel like crazy.
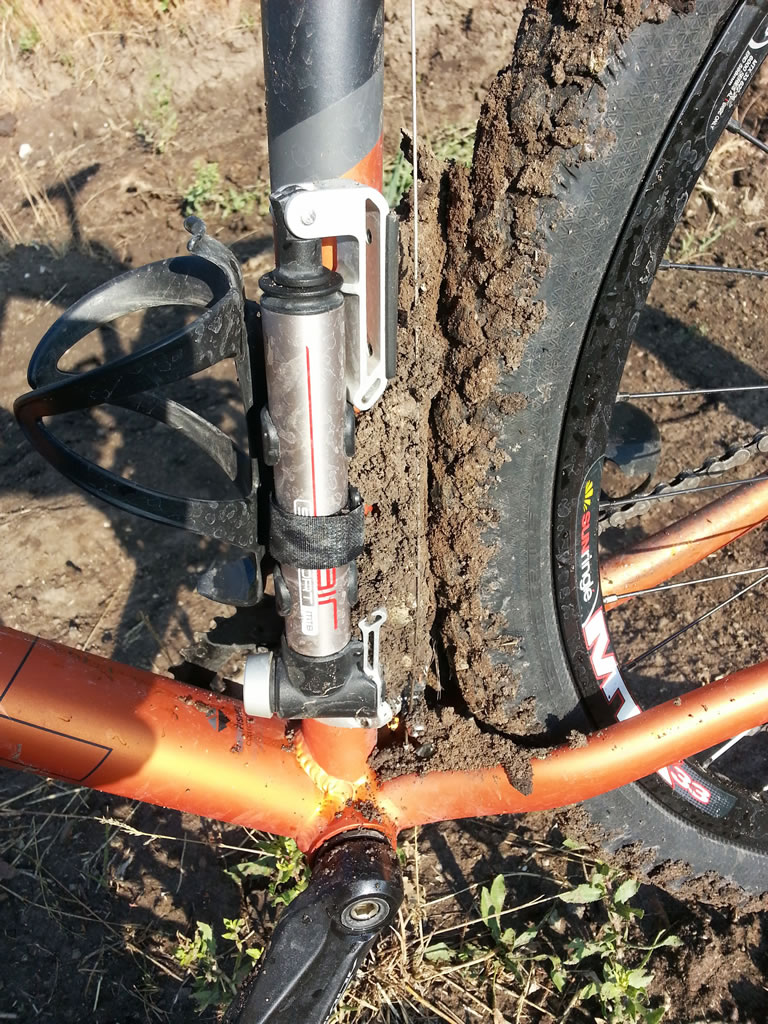
Mud packed in between the frame and rear wheel on my 29er mountain bike.
I moved the Range Ops camera to this new location watching a heavily traveled trail the climbs out onto a ridge.
A herd of elk feeding past a Range Ops trail camera.
I have a Recon Force trail camera watching this location now.
- Details
- Written by: The DIY Hunter
- Category: Outdoor
- Hits: 4940
I am finding that having a couple of Browning Trail cameras out on the mountain is a lot like Christmas. I get so excited to see what the cameras were able to capture. Back in May I placed scouted for elk and placed three Browning trail cameras out on the mountain. I got some cool photos of a black bear, elk, mule deer and moose when I checked them after two weeks.
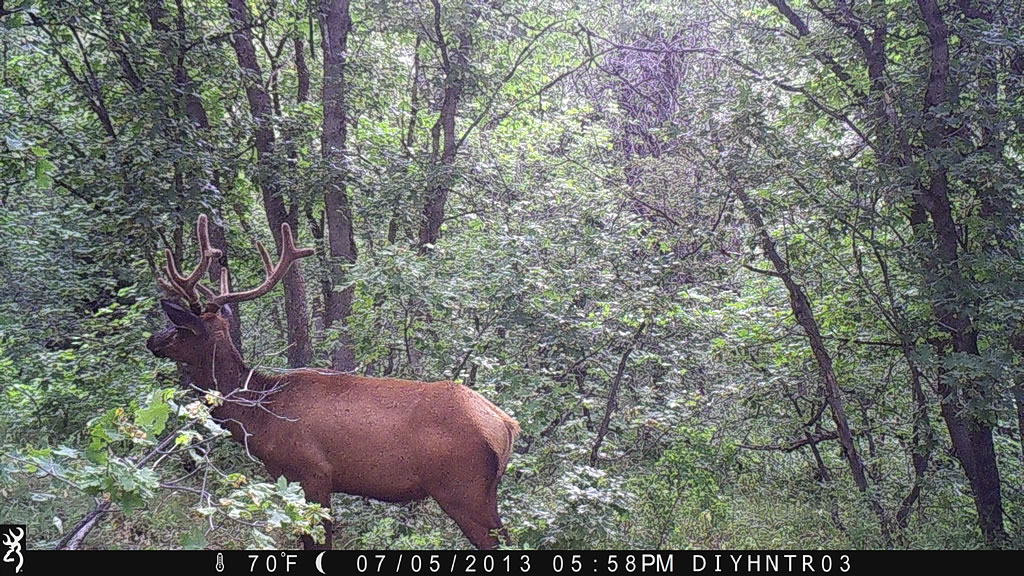
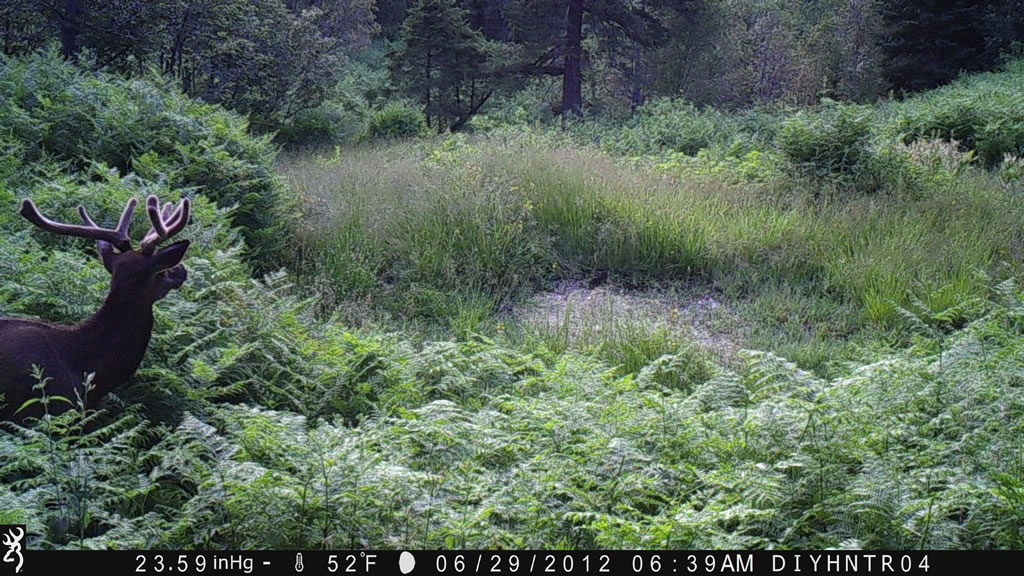
A bull elk with budding out a g4 on each antler. This is the best bull we have found to date. Dallen's pretty excited about this bull. He's hoping to get at least this bull if he can. You can see all four of the Rapid Fire photos the Range Ops trail cam took of this bull in the series below.
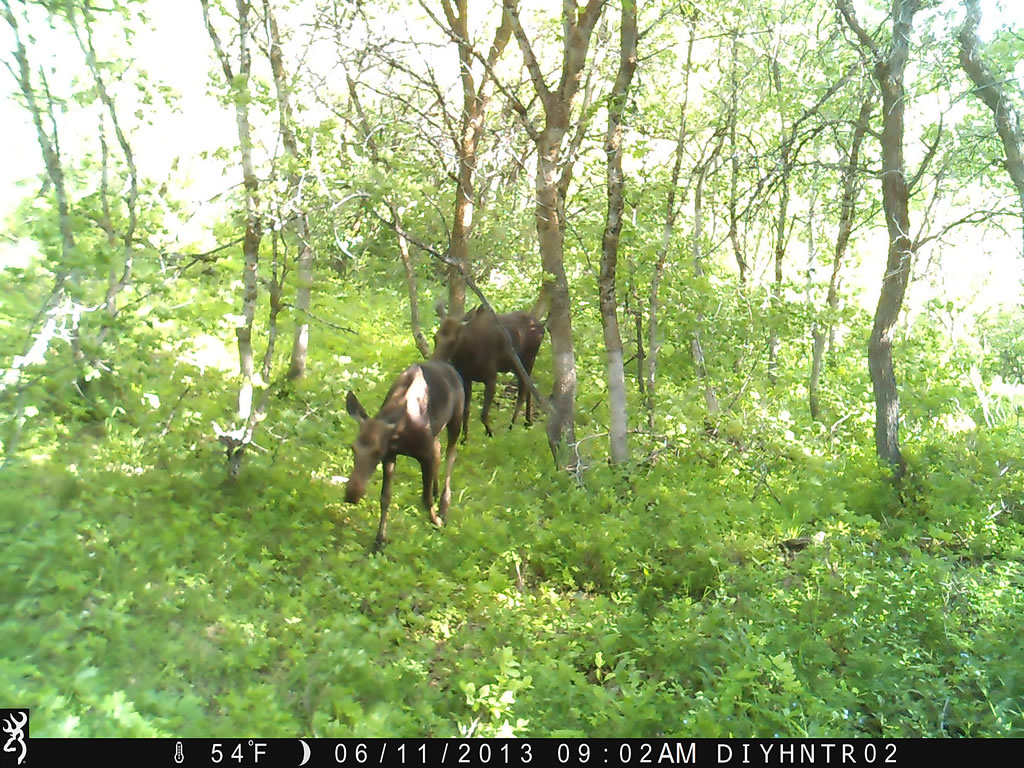
Two cow moose walking past the Range Ops BTC-1 trail camera.
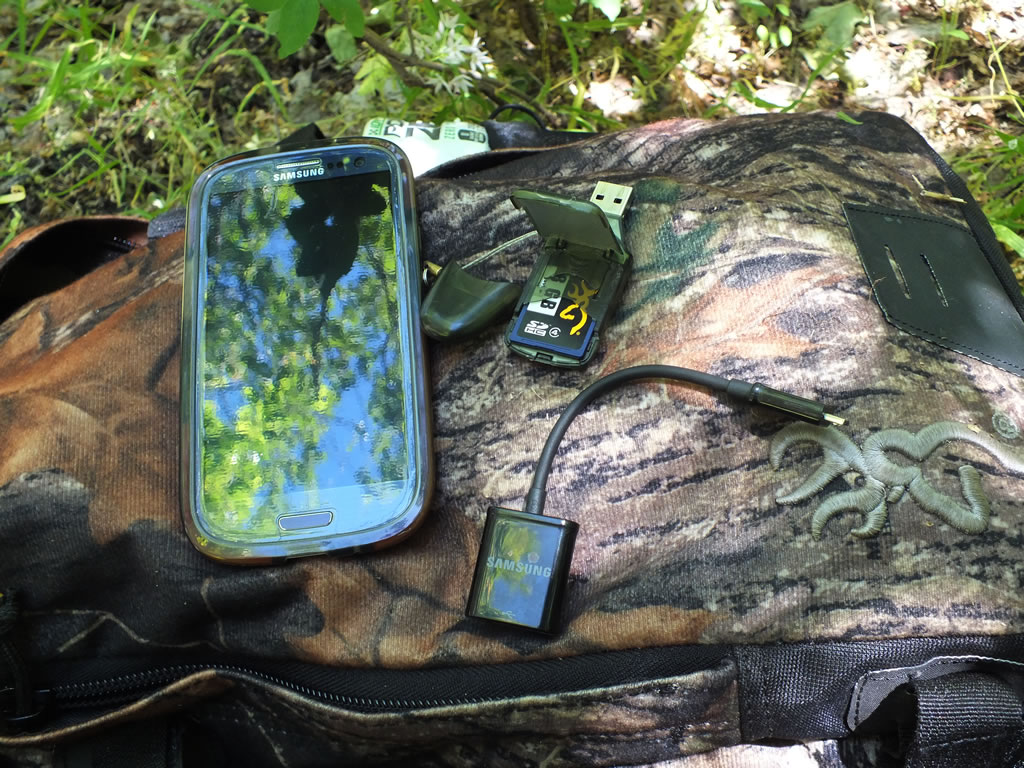
Using a Samsung USB adapter to read the SDHC cards from the Browning Recon Force and Range Ops trail cameras.
A Browning Spec Ops BTC-3 trail camera setup over a spring that we think the bull elk will use as a wallow in the fall.
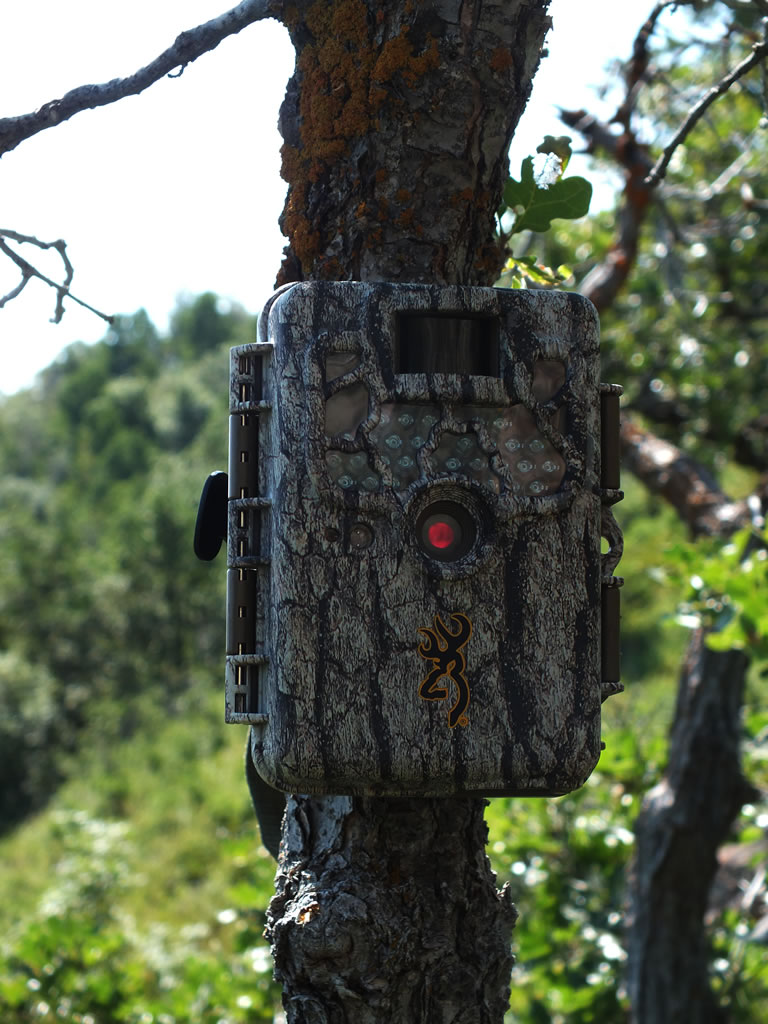
The camo on these cameras is amazing at blending right into the tree bark.
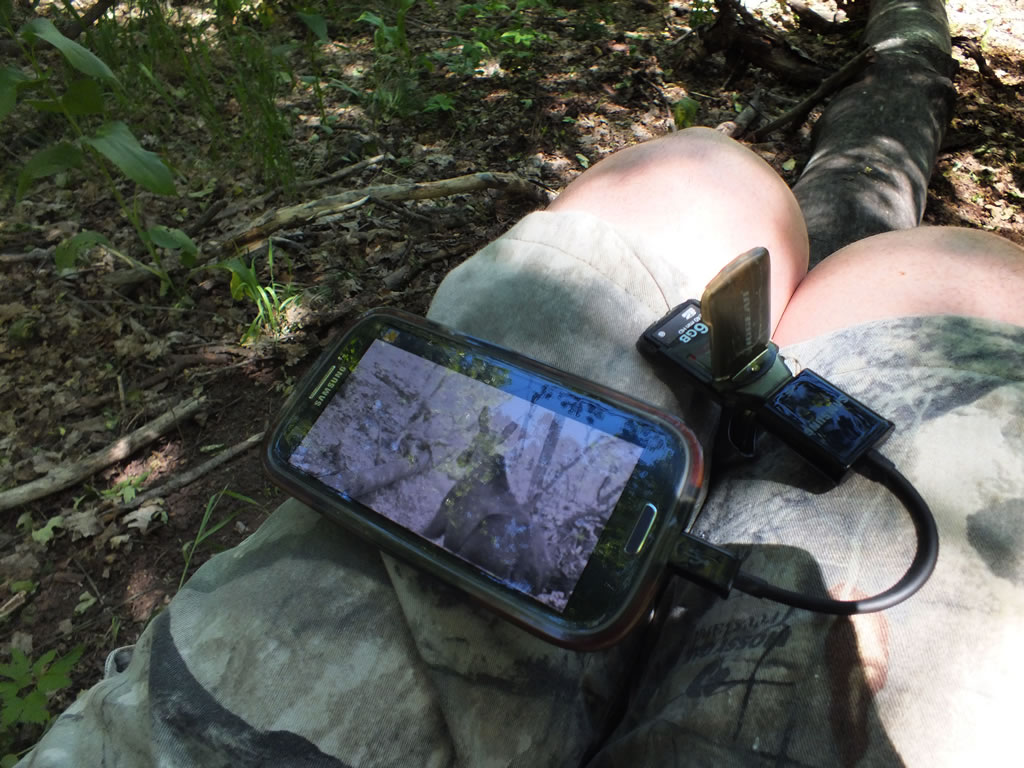
Browsing photos while checking one of the Recon Force trail cameras. Looks like a cow moose came by after dark.
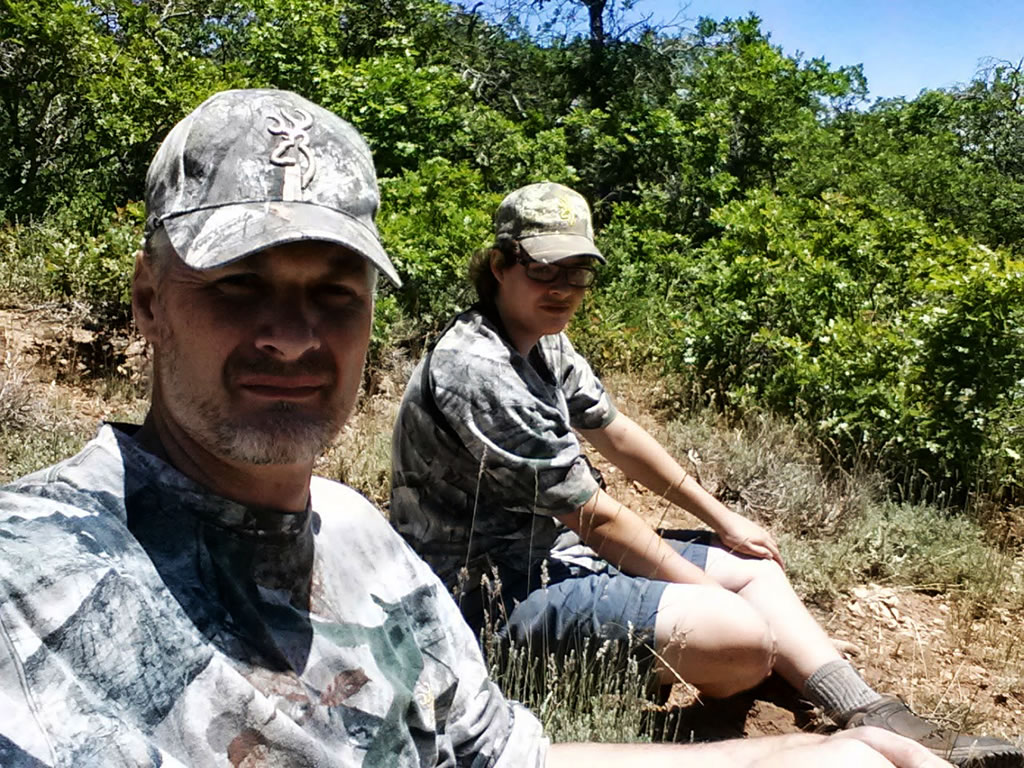
Dallen and me taking a break while checking the trail cameras.
On this trip out on the mountain Dallen came with me. He has the youth elk tag this year and we are hopeful that by using the trail cameras we will be able to find him a nice bull. He has already taken a spike and a 4x5 bull and I think he will be holding out for a six point. I hope we can pull it off for him. I'm still to this day trying to get my first ever six point bull. After seeing the 5 point on the trail camera photos this time out he's getting pretty excited. Not to mention there's a couple of pretty nice looking mule deer bucks that we captured on video this time.
Being a newbie to trail cameras I am learning more and more of how and where to place them. I am finding that the motion sensor works at it's best when a critter walks parallel to the camera. When I have a camera setup looking directly down a trail I often capture the critter passing going away from the camera but often miss the critters walking straight up the trail coming directly at the camera.
It took a while for me to figure out what was going on with the empty photos. The key that helped me figure this out was that all the photos with critters in them on this camera showed them going away. There would be lots of empty 6 frames rapid fire burst of nothing or in some cases just the first photo would have the very tail end of a deer barely showing in the edge of the photo and then 5 empty photos. Now that I have patterned the general path of the animals I have moved all of the cameras a little to get more passing views of the trails that they are on.
This time out I had a new toy to help me. I ordered a Samsung micro USB to USB adapter for my Galaxy S3 phone. This little cable is awesome. I can plug in USB keyboards, hard drives and in my case I can plug in a USB SD card reader. With this I am able to check the photos and video I get right there while I am checking the camera. If it wasn't for this adapter it would have been another couple of weeks before I was able to reposition the cameras slightly to get more of a passing view of the trails. With the adapter I was able to run through the photos on my phone and determine I needed to make the move right there on the mountain.
The AVI video format that the Browning Trail cameras take will not play with the media player that comes with the phone. I found that "MX Player" a free app on Google Play works great for playing the video files. (Dec. 2013: This app stopped working I now have a better app to view the trail camera videos.) Unfortunately, I didn't figure this out until I returned from the mountain. While on the mountain this time I was unable to play the files and unfortunately I turned off the video and set the camera to 6 frame rapid-fire. After seeing the way cool video that the camera had been capturing I'm wishing it was still taking video. The HD video the Recon Force trail camera takes is just amazing. So very cool! I compiled a few of the 62 videos in the YouTube clip viewable on the page.
I had the camera setup to take 30 second HD video clips whenever it gets motion triggered. Then wait five seconds before watching for motion again. I found that when the camera is using IR lighting that it only takes 10 seconds of video. In daylight it took 30 seconds of great look video.
Battery life has been wonderful with the cameras. Two of the cameras have been taking either video or rapid-fire images for four weeks now with Rayovac AA batteries and one camera shows 95% power and the other 93%. This is awesome. I was afraid that I would be spending a small fortune on batteries to keep them fed.
One of the cameras I have out is a Browning Range Ops. It retails about twenty less that the Recon Force BTC-2 trail camera. The Range Ops functions really well but the image quality is not near the quality of Recon Force. Not that the Range Ops quality is horrible but the Recon Force's images are just amazing. For the extra twenty I would no question get the Recon Force over the Range Ops. The specs on the Recon Force show that it has ZerO Blur Technology. Whatever the technology I like the sharp high resolution images it takes.
This time out we also placed a Spec Ops BTC-3 trail camera. This is the highest end Browning trail camera. It looks to me that it's biggest feature upgrade over the Recon Force is a two inch management screen. From this screen it is a little easier to setup the different modes of the camera. It is also great to view exactly what the camera is pointing at in real time making it nice to have the camera pointing exactly where you want it to. Once I get some photos on this camera I will be able to browse through them directly on the camera when I go out to check it. Where on the other cameras I can use the USB adapter cable to browse the images.
On this trip out scouting the area Dallen and I found an awesome spring area that we think will be a wallow for the bulls come the rut this fall. We setup the Spec Ops trail camera watching over this spring. I'm really excited to see what photos and video we get watching over this spot for the next several months. I am also curious to see if the quality of the images varies much from the Recon Force. The IR lighting is different between the two. I guess we'll see in a couple weeks.
Now I have to wait a couple weeks before I go out to check them again. Boy trail cameras are a lot of fun.

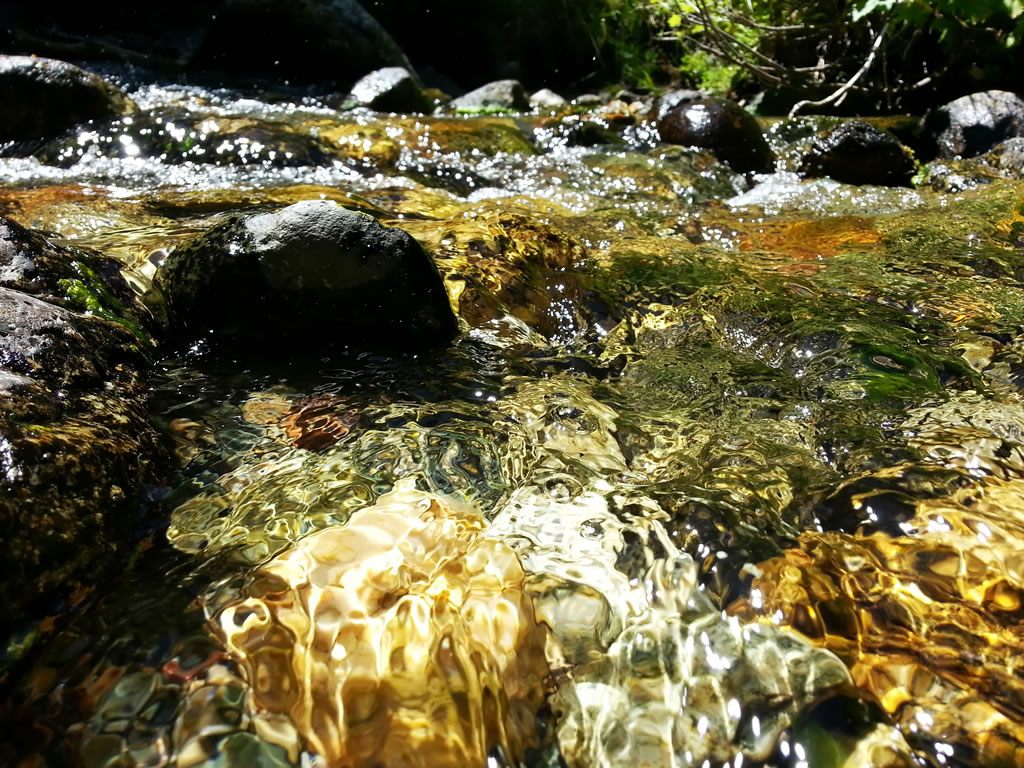
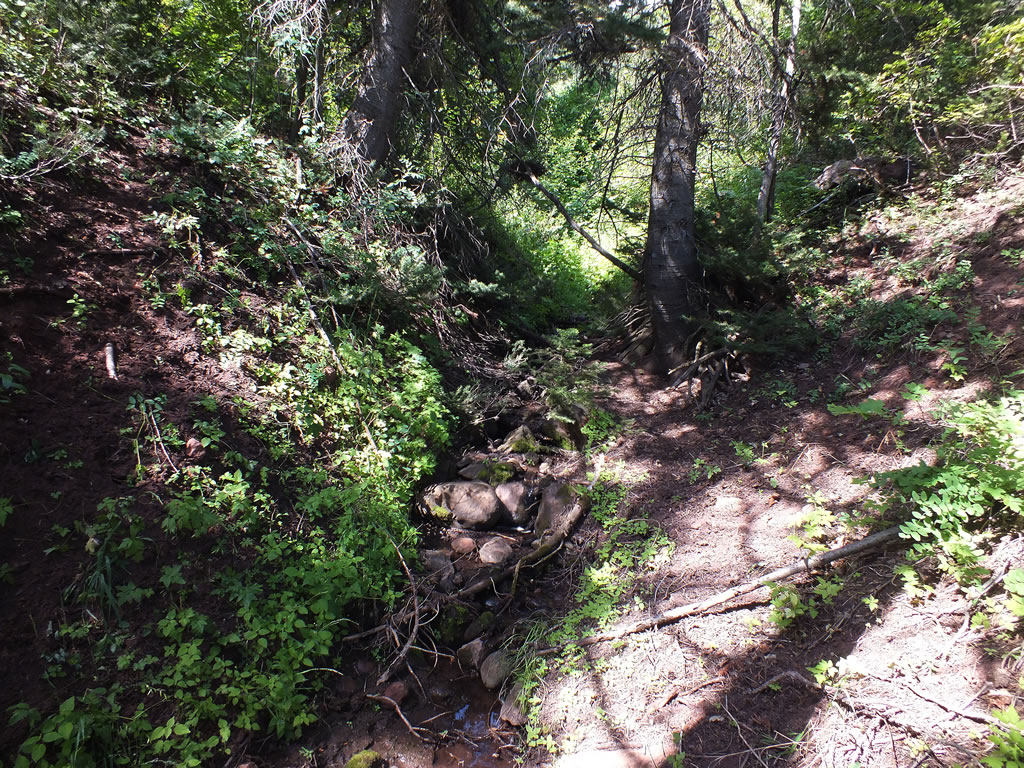
Playing around with my Galaxy S3 phone taking a photo close-up of the creek flowing near where our trail cameras are out.
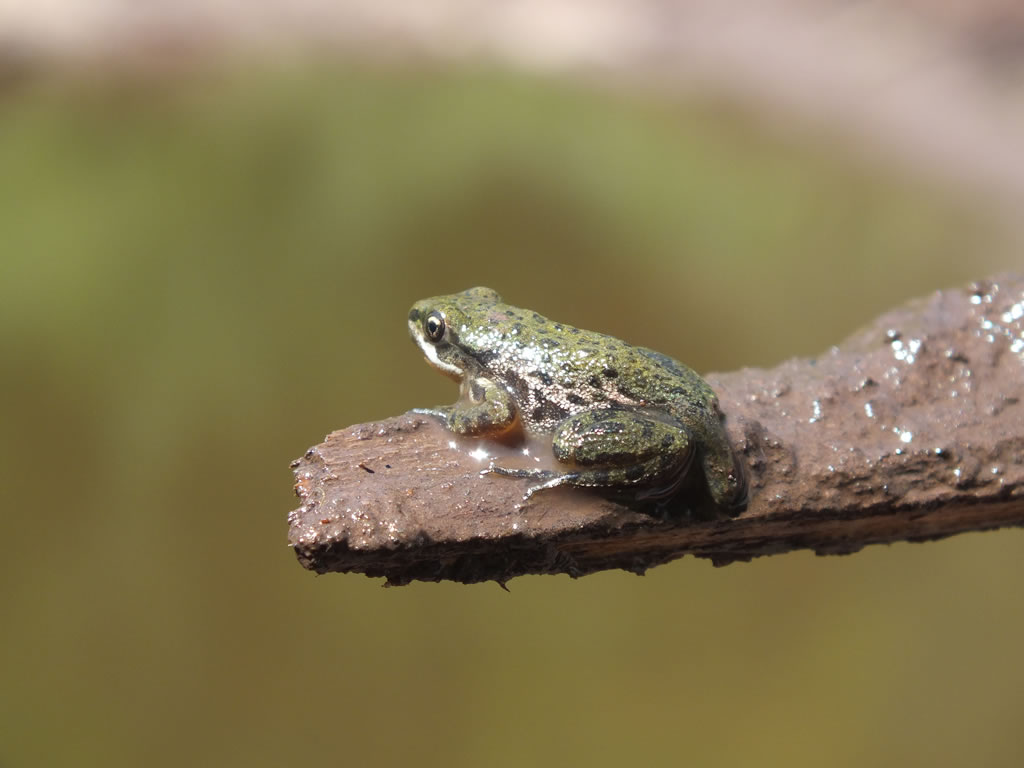
A little bitty frog that we found.
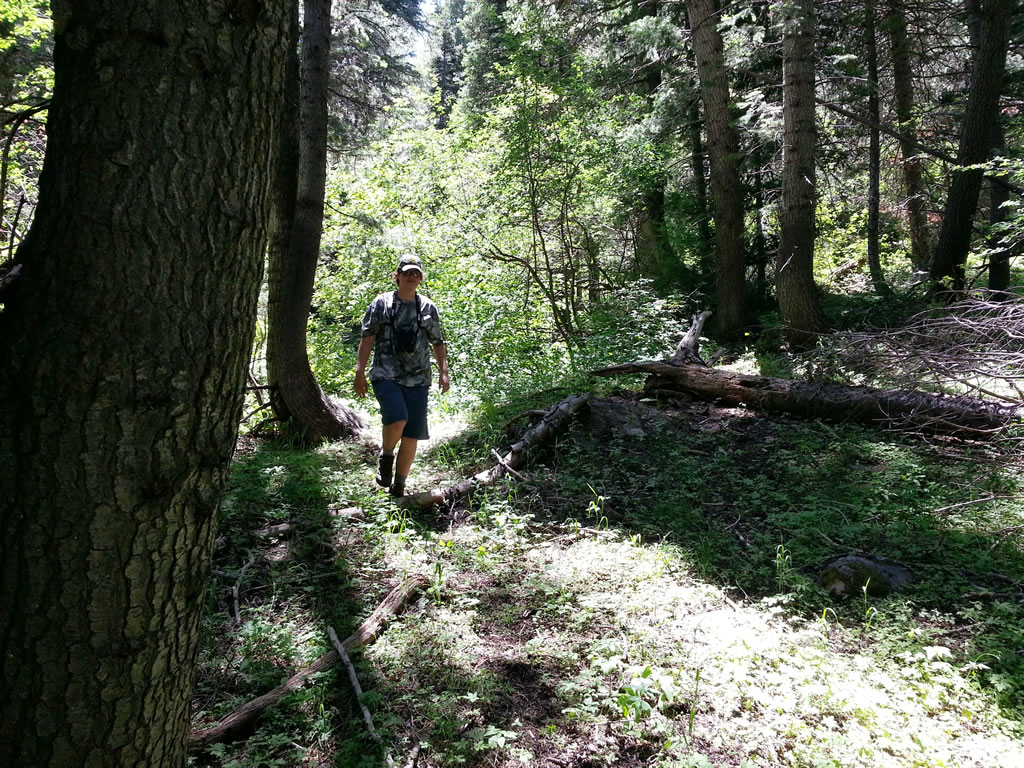
Dallen hiking while checking our trail cameras.
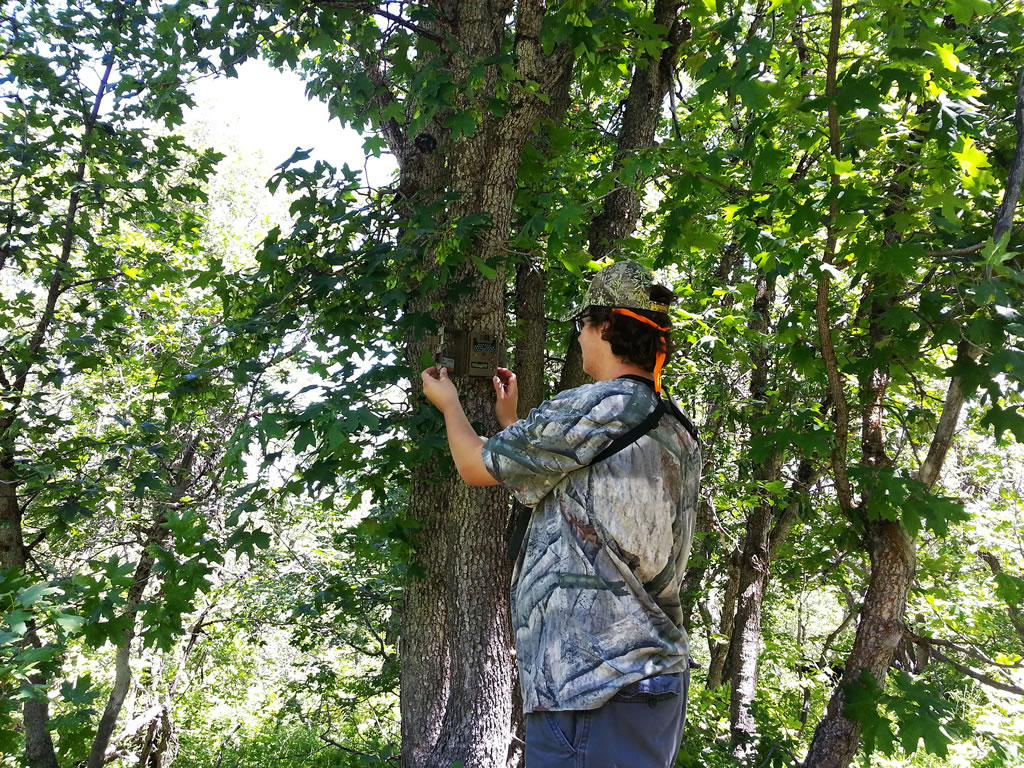
Dallen checking the Recon Force Browning trail camera that took the HD video shown above.